

Ever shown up to a coffee shop, hotel room, or airport lounge only to realize your chargers are tangled, your power bank is buried somewhere at the bottom of your bag, and your earbuds have somehow disappeared into the void? Yeah, we’ve all been there.
If you’re someone who travels with a bunch of gadgets, having the right travel bag for electronic accessories can genuinely change the way you move through the world. No more digging through chaos or wrapping cords around your hand and hoping for the best.
But here’s the thing: not all bags are created equal, and if you’re new to this whole “organized traveler” lifestyle, it can be tricky to know what actually matters when shopping for one.
That’s exactly why we put this guide together. We’re going to walk you through the key features to look for so you can find a bag that fits your gear, your style, and your travel habits. By the end, you’ll know exactly what to prioritize before making your next purchase. Let’s get into it!

What Is a Travel Bag for Electronic Accessories?
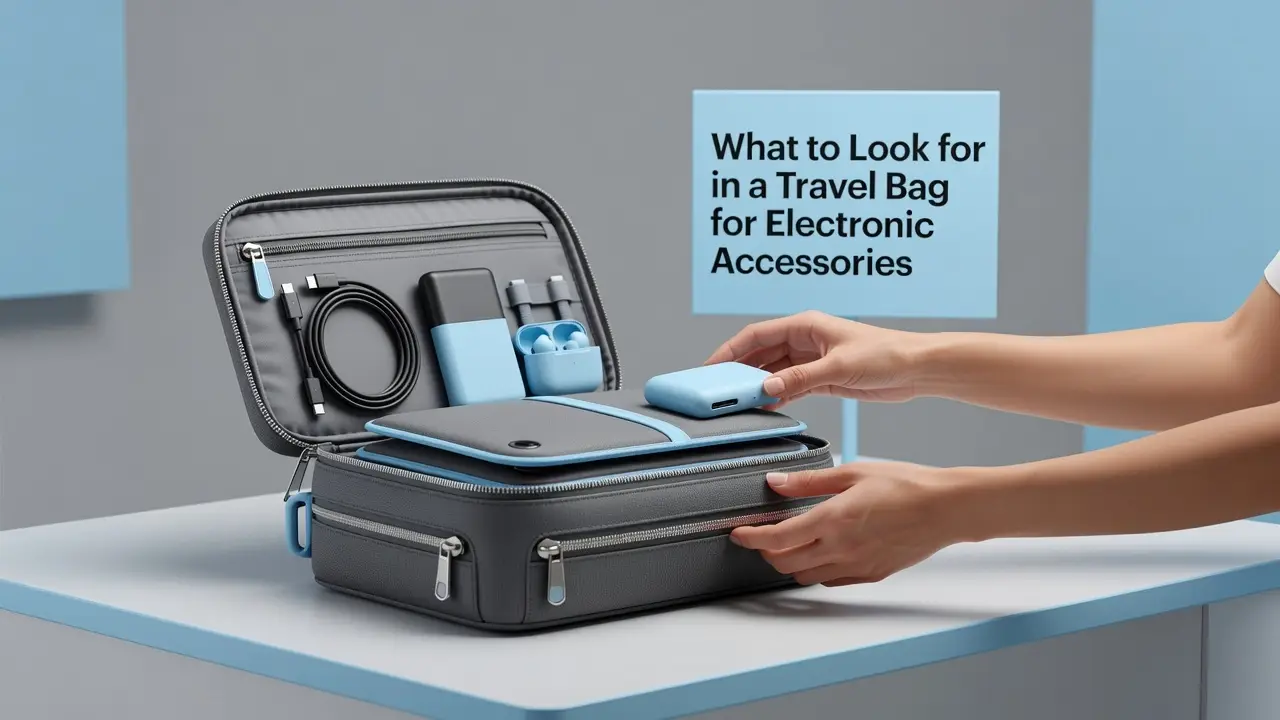
If you’ve ever dug through a tangled mess of cables at the bottom of your bag while a line forms behind you at airport security, you already understand why a travel bag for electronic accessories exists. Simply put, it’s a dedicated pouch, case, or organizer built specifically to hold your tech gear, including cables, chargers, adapters, power banks, and earbuds, all in one organized spot. This is very different from tossing everything into a general packing cube or toiletry bag.
What makes these organizers special is how they’re designed on the inside. Instead of one big empty space, you get structured compartments, elastic cord loops, mesh pockets, and cable-wrapping systems that are engineered specifically for tech gear. Everything has a place, and nothing gets scratched, tangled, or lost.
The need for this kind of organization has grown significantly. The average traveler today carries multiple devices, a phone, tablet, laptop, wireless earbuds, a power bank, and several charging cables. The global travel accessories market has been expanding steadily, reflecting how seriously people are taking smarter packing.
A dedicated electronics organizer solves four very real frustrations that most travelers deal with:
- Tangled cables that waste time and cause stress
- Scratched screens from loose items rattling around
- Dead devices because chargers were buried and inaccessible
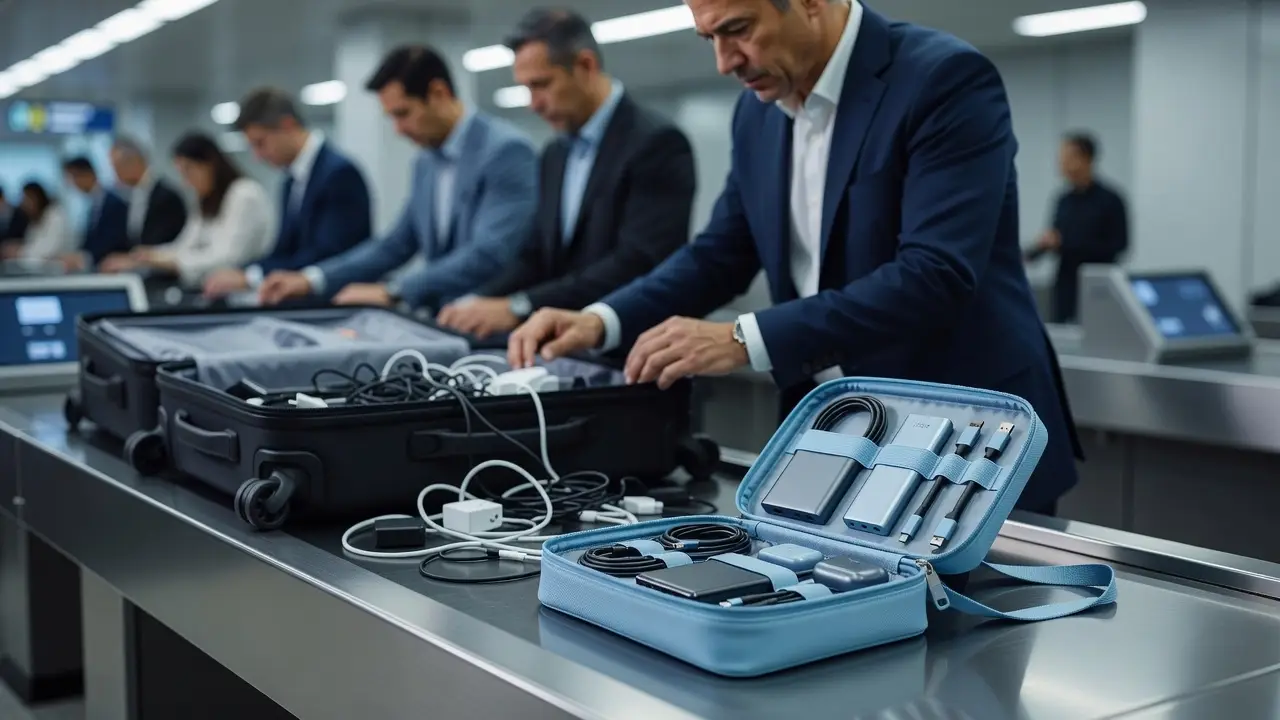
- Slow airport security caused by disorganized tech that needs to be quickly unpacked at the screening bin
Having everything in one organized bag makes your entire trip smoother from the moment you leave home.

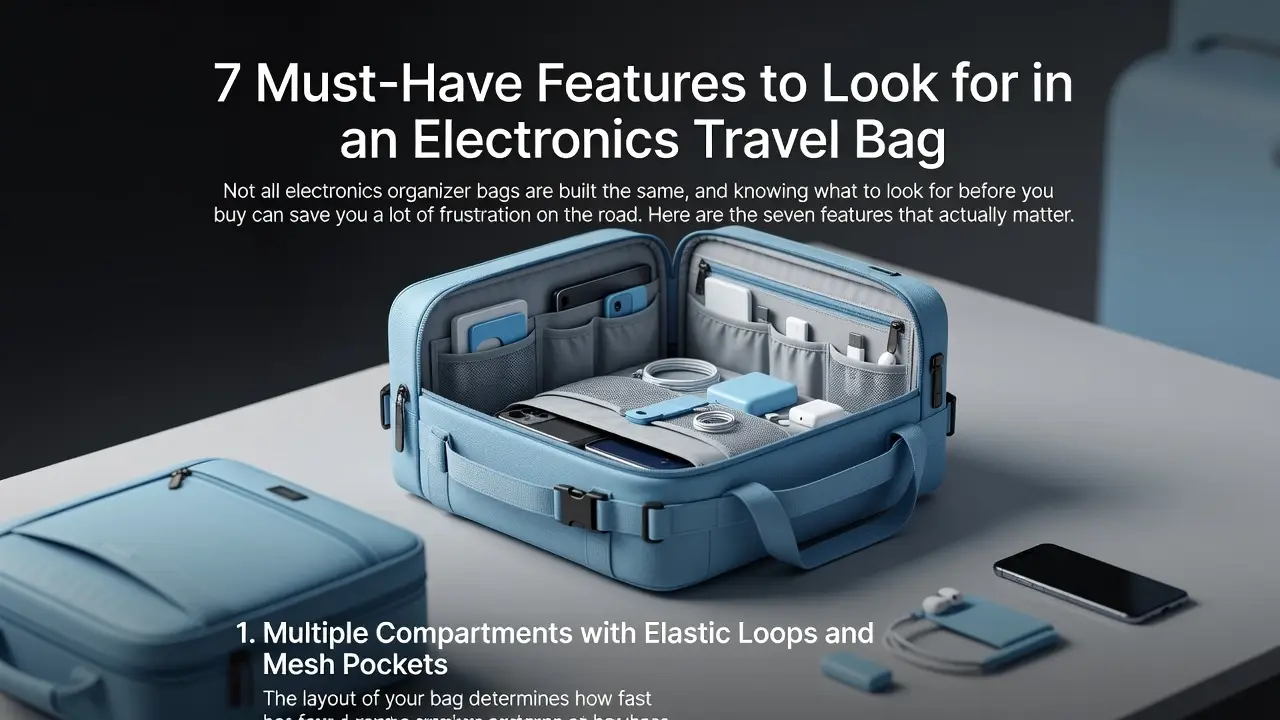
7 Must-Have Features to Look for in an Electronics Travel Bag
Not all electronics organizer bags are built the same, and knowing what to look for before you buy can save you a lot of frustration on the road. Here are the seven features that actually matter.
1. Multiple Compartments with Elastic Loops and Mesh Pockets
The layout of your bag determines how fast you can find things. A good electronics organizer uses elastic loops to hold items snugly in place, mesh pockets so you can see what’s inside without digging, and zippered sub-pockets for smaller, easy-to-lose items like SIM card tools or memory cards. More compartments means less chaos, especially when you’re rushing through a terminal.
2. Cable Management Slots and Cord-Wrapping Systems
Tangled cables are the number one frustration travelers report with electronics bags. Look for Velcro straps or cord anchors built directly into the bag. These keep each cable wrapped and separated, so pulling out your phone charger doesn’t bring three other cords along with it.
3. Water-Resistant Material
Spilled coffee, surprise rain, a sweaty gym bag sitting next to yours; moisture is everywhere when you travel. Water-resistant nylon or polyester adds real protection without making your bag noticeably heavier. Note that water-resistant is not the same as waterproof, so avoid submerging it, but everyday splashes won’t reach your devices.
4. TSA-Friendly Design
A flat-lay or clamshell-style organizer opens completely flat and can be placed directly into a security bin. This alone can shave minutes off your checkpoint experience, which matters when you’re cutting it close on a connection.
5. Compact and Lightweight Build
Your organizer should tuck neatly inside your carry-on or weekender bag without eating up half the space. Aim for something under one pound when empty. It needs to serve your trip, not complicate it.
6. RFID-Blocking Panels
Crowded airports and transit hubs are prime spots for digital skimming of contactless cards and passports. If your organizer doubles as a document holder, RFID-blocking panels add a smart layer of protection at very little added cost or weight.
7. Durable Zippers and Reinforced Seams
Zippers fail first. Always. Look for quality-rated zippers paired with double-stitched seams, especially if you plan to use the bag on every trip. A bag that holds up after two years of weekly travel is far better value than replacing a cheap one every few months.
How to Build a Complete Travel Tech System Around Your Electronics Organizer
Think of your electronics organizer as the hub of a modular packing system. It lives inside a larger bag, like a backpack or weekender bag, and holds every tech item you need without forcing you to dig through clothing, toiletries, or random stuff you tossed in at the last minute. This approach transforms the way you pack because everything has a home, and you always know exactly where it is.
The electronic cable organizer from Essential for Travel is designed to function exactly this way. It keeps cables, chargers, and adapters in dedicated slots so your most-used items are retrievable in seconds, not minutes. When you land after a long international flight and immediately need to charge your phone, you do not want to be unpacking your entire bag at the airport gate.
Here is a simple way to set it up for maximum efficiency:
- Layer one (most accessible): Slot your travel adapter and battery charger into the front elastic loops so they are the very first items you can grab when you land and need power at a foreign outlet.
- Layer two (flight essentials): Pack your noise cancellation headphones, earbud translator, and airplane phone holder together so they form one pull-out tech kit ready for every flight.
- Layer three (backup items): Store spare cables, memory cards, and secondary chargers in the deeper mesh pockets.
When this organizer lives inside your weekender bag or backpack, it works like a drawer within a drawer. At hotel checkout, instead of hunting down scattered cables from every corner of the room, you simply zip up the organizer and drop it back into your bag. That one habit alone can save you fifteen minutes every single morning of your trip, and it nearly eliminates the frustrating experience of leaving a charger behind. Building your travel tech system around one central organizer is honestly one of the simplest upgrades any beginner traveler can make.
The Electronics Organizer and RFID Waist Bag: A Security Pairing Worth Knowing


Most travelers think about security in one dimension: keep your bag close and don’t flash your valuables. But modern travel actually has two separate security gaps worth closing, and they require two different tools to address them.
Your electronics organizer handles the physical side. It keeps your cables, chargers, power bank, and devices neatly contained so nothing gets damaged or lost in transit. Your RFID anti-theft waist bag handles the digital side. It shields your contactless credit cards, passport, and ID from electronic skimming, which is a real concern in crowded airports, busy train stations, and popular tourist districts where strangers can pass within inches of your belongings.
These two products solve completely different problems, and that’s exactly why pairing them works so well.
Think about what happens when you’re standing in a slow-moving boarding queue. Without a waist bag, your passport and payment cards are buried somewhere in your backpack, which means you’re either digging around in public or leaving your bag open while you search. With an RFID waist bag worn against your body, your documents stay on you, out of sight, and protected from both physical pickpockets and digital skimmers simultaneously.
The smart move is letting each product do its own job. Your organizer protects your devices; your waist bag protects your identity documents. Neither has to do everything, and together they cover the two most common security gaps travelers face without adding bulk or complication to your packing setup.
How a Well-Organized Electronics Bag Speeds Up TSA Screening
Here is something most first-time travelers don’t realize until they’re standing at the security conveyor with a line of impatient people behind them: the TSA requires you to remove all electronics larger than a cell phone from your carry-on bag before it goes through the X-ray machine. That means laptops, tablets, e-readers, and large power banks all need to come out and go into a separate bin. If your tech gear is buried under clothes, scattered across pockets, or tangled in a knot of cables, that moment becomes genuinely stressful.
This is exactly where a well-organized electronics bag changes the game.
A clamshell or flat-lay organizer lets you lift one single pouch out of your bag and set it directly in the bin. That’s it. Instead of pulling out a charger, then untangling a cable, then fishing around for your power bank while the agent waits, you hand over one tidy unit. Everything the TSA needs to scan is visible and flat, which makes the X-ray image cleaner and reduces the chance of getting flagged for a closer look.
Loose cables, unidentified adapters, and power banks rattling around without any context are among the most common triggers for secondary bag inspection. A structured organizer eliminates all of that uncertainty by keeping every item in a consistent, recognizable position.
Here’s a simple checkpoint workflow that frequent travelers swear by:
- Before you approach the conveyor, move your electronics organizer to the top of your backpack or weekender bag so it’s the first thing you can grab.
- Remove two items: your organizer and your laptop.
- Place both flat in a single bin. No stacking, no cramming.
- Walk through screening without worrying about what’s in your bag.
- Repack in under 30 seconds because everything in your organizer already has a designated spot.
Travelers who pass through busy international hubs regularly know that even a small delay at security can create a ripple effect that puts a gate connection at risk. Shaving time off your checkpoint process is not just about convenience; it is a practical strategy for protecting your itinerary. According to the TSA’s official screening guidelines, keeping electronics accessible and clearly organized is one of the simplest ways passengers can help the screening process move faster for everyone.
A structured travel bag for electronic accessories does not just protect your gear; it protects your schedule.
Traveling as a Family with Multiple Devices: Organization at Scale
Solo travel is manageable with one bag of gear. Family travel is a completely different logistical challenge. A family of four can easily carry 10 or more devices: smartphones for each adult, tablets for the kids, headphones, portable battery packs, a shared laptop, and at least one international adapter. That is two to three times the electronics load of a solo traveler, and without a dedicated system for managing it all, every transit day turns into a scavenger hunt through someone’s bag.


1. Give Every Family Member Their Own Pouch
One of the simplest upgrades you can make is assigning each family member a color-coded or labeled electronics pouch. When everyone has their own designated organizer, the “whose charger is this?” argument disappears entirely. It also means that before you check out of a hotel room, each person is responsible for their own pouch, which dramatically reduces the chance of leaving a charger plugged into the wall.
2. Use AirTags Inside the Organizer Bag Itself


Slipping an Apple AirTag inside your main electronics organizer bag adds a recovery layer that most families overlook. If the bag gets left at a TSA checkpoint or separated from your luggage, you can pinpoint its location immediately through the Find My network, which runs across over a billion Apple devices worldwide.
3. Pair It with an RFID Passport Holder and Wallet Tracker


The electronics organizer handles devices; the RFID leather family passport holder from Essential for Travel handles documents. These two systems work together to keep everything categorized and protected. Adding a wallet tracker for each adult completes the picture, giving your family unified coverage across bags, documents, and wallets so nothing falls through the cracks.

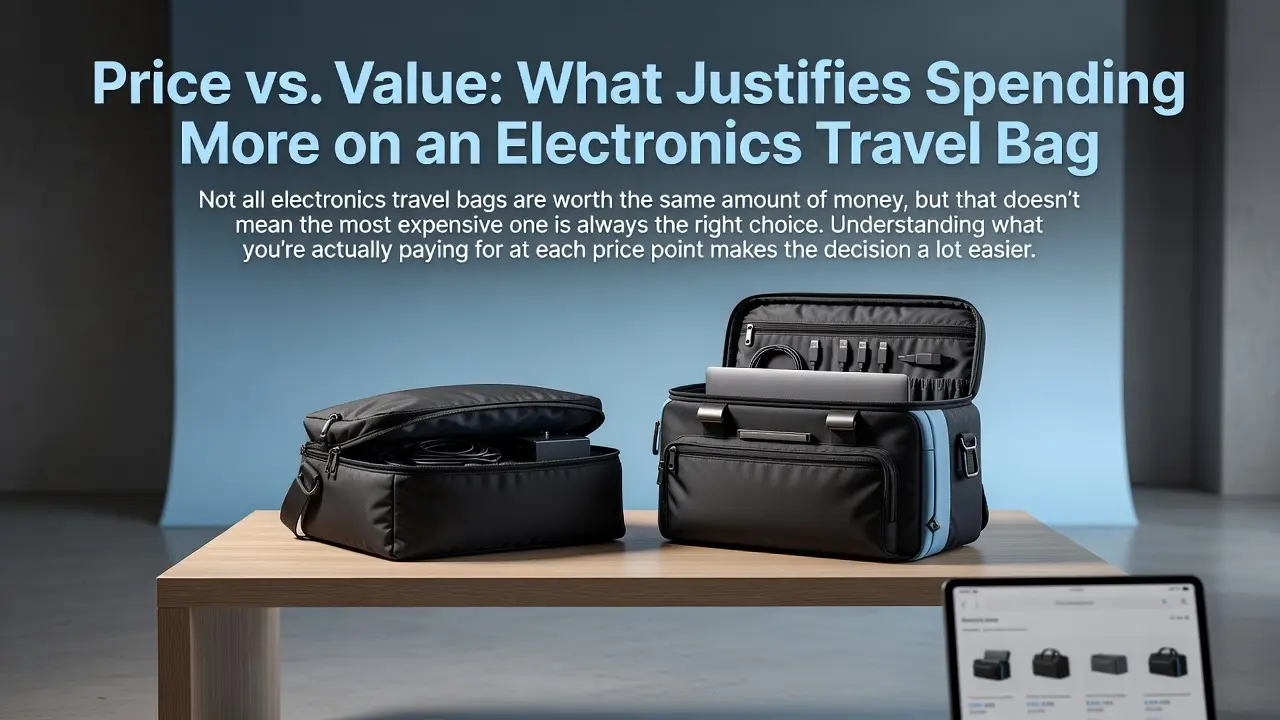
Price vs. Value: What Justifies Spending More on an Electronics Travel Bag
Not all electronics travel bags are worth the same amount of money, but that doesn’t mean the most expensive one is always the right choice. Understanding what you’re actually paying for at each price point makes the decision a lot easier.
Electronics travel bags on major retail sites typically fall somewhere between $15 and $60, and four factors explain most of that price gap: compartment count, material quality, water resistance, and whether the bag includes RFID shielding.
At the $15 to $20 range, you’re usually getting a single zippered pouch with no internal structure. There are no loops, no dividers, and no cable management system. For someone carrying two charging cables and a small adapter, that might be perfectly fine. But if you’re managing a power bank, earbuds, a multi-port charger, and several cables, a basic pouch turns into a tangled mess within one trip.
The $30 to $45 mid-range tier is where most travelers find the best balance of price and function. These organizers typically add elastic loops, mesh pockets, and a clamshell lay-flat opening that makes TSA screening significantly faster. Water-resistant nylon is also standard at this level, which matters more than people expect when you’re caught in the rain or a drink spills in your bag.
Above $45, you start seeing features like RFID shielding, lockable zippers, reinforced seams, and padded tablet sleeves. For frequent international travelers carrying passports or contactless cards alongside their devices, those upgrades offer real, tangible protection.
One pattern worth knowing: the most common complaints about budget and mid-range bags are tangled cables from no cord management, not enough compartments for a full tech kit, and zippers that fail within six months of regular use. Spending just a little more on a structured design solves all three of those problems before they happen.
Frequently Asked Questions About Travel Bags for Electronic Accessories
What Should I Put in a Travel Electronics Bag?
Start with the basics and build from there. At minimum, your electronics bag should hold charging cables for every device you carry, a travel adapter if you’re heading overseas, a power bank, and your earbuds or headphones. Compact extras like a phone holder or SD card case fit easily and are easy to forget without a dedicated spot for them.
If you’re a business traveler or heading on a long-haul flight, expand that list to include your laptop charger, an earbud translator for language barriers, and spare batteries. One thing worth knowing: spare lithium batteries must travel in your carry-on, not your checked luggage, per TSA guidelines. Keeping them in your electronics organizer is the safest and most convenient option.
Are Electronics Organizers TSA Approved?
This is one of the most common questions beginners ask, and the short answer is no, there is no formal TSA approval certification for electronics organizers. However, a clamshell or flat-lay design is widely considered TSA-friendly because it allows your devices to lie flat in a screening bin quickly and clearly.
The rule that matters most: all electronics larger than a cell phone must be removed from your bag at the checkpoint, regardless of how neatly they are packed. A well-organized flat-lay bag simply makes that process faster and less stressful.
What Size Electronics Bag Do I Need for Carry-On?
For most travelers, a 9 by 6 inch organizer comfortably fits cables, a power bank, adapters, and earbuds. If you carry a laptop charger and multiple devices, an 11 by 7 inch clamshell still slides flat inside a standard backpack or weekender bag without crowding your other gear.
Build Your Travel Tech Kit the Right Way
Everything you’ve read in this guide points to one simple conclusion: the right gear, packed the right way, changes how travel feels from the moment you leave your house.
A dedicated travel bag for electronic accessories is the single upgrade that ties everything else together. It eliminates the cable chaos, speeds up your TSA screening, and protects your devices from the bumps and drops that come with every trip. That one small bag does a lot of heavy lifting.
The smartest way to build your system is to start with the electronics organizer as your hub, then layer outward. Tuck your travel adapter and battery charger into the elastic loops, secure your cards and documents in an RFID waist bag, and slide everything into a backpack or weekender bag as your outer shell. Each piece works with the next.
For families, extend that system with Apple AirTags inside the organizer, an RFID leather family passport holder, and a wallet tracker for complete coverage across every valuable you’re carrying.
Head over to essentialfortravel.com to explore the electronic cable organizer and the full lineup of gear built to work together, so you can pack smarter, move faster, and travel with a lot less stress.
how-to-choose-a-travel-tech-bag
#essentialfortravel #airtags #travelsmart #travelessential #RFIDwallet
Shop Now:essentialfortravel.com