How to Pack Light Without Sacrificing Comfort on Long Trips

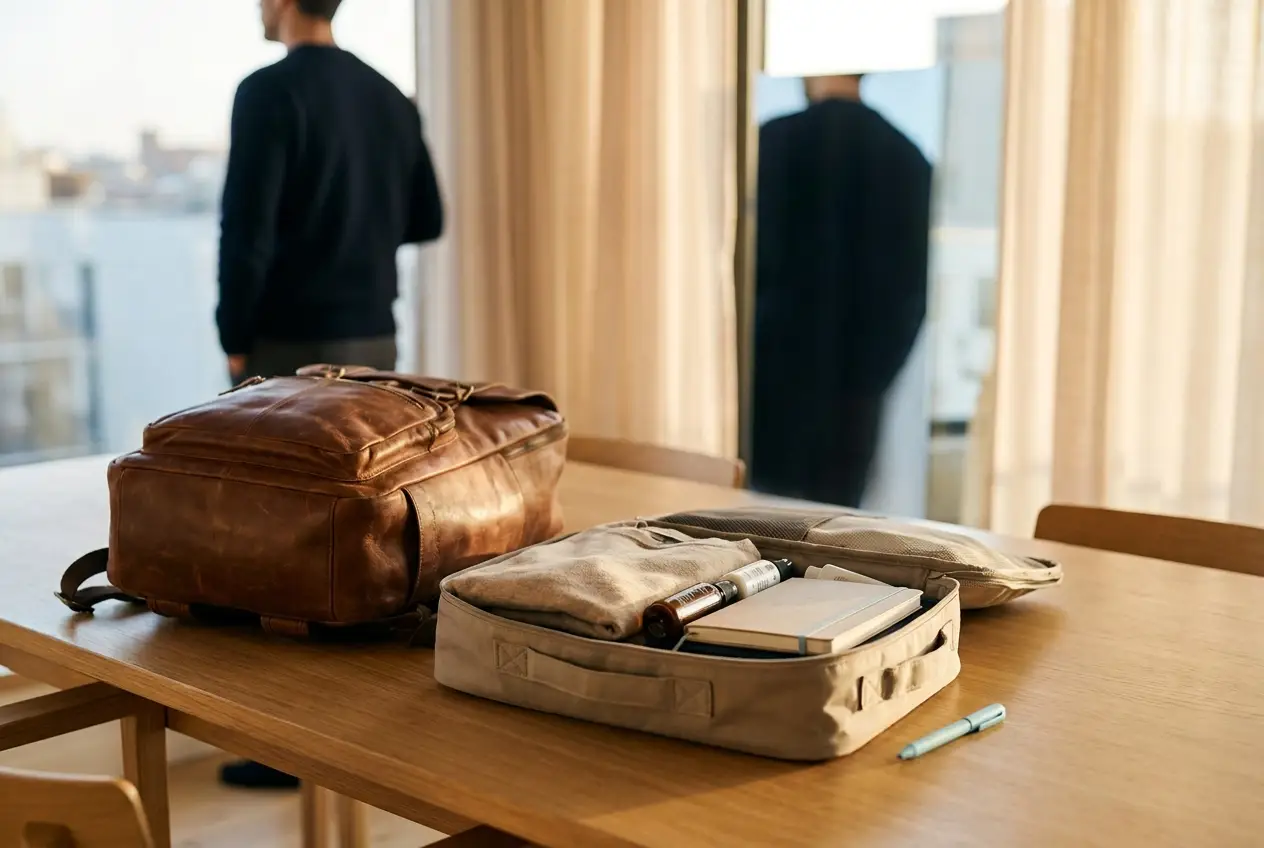
Professional header image for step-by-step guide: How to Pack Light Without Sacrificing Comfort on Long Trips
Share it

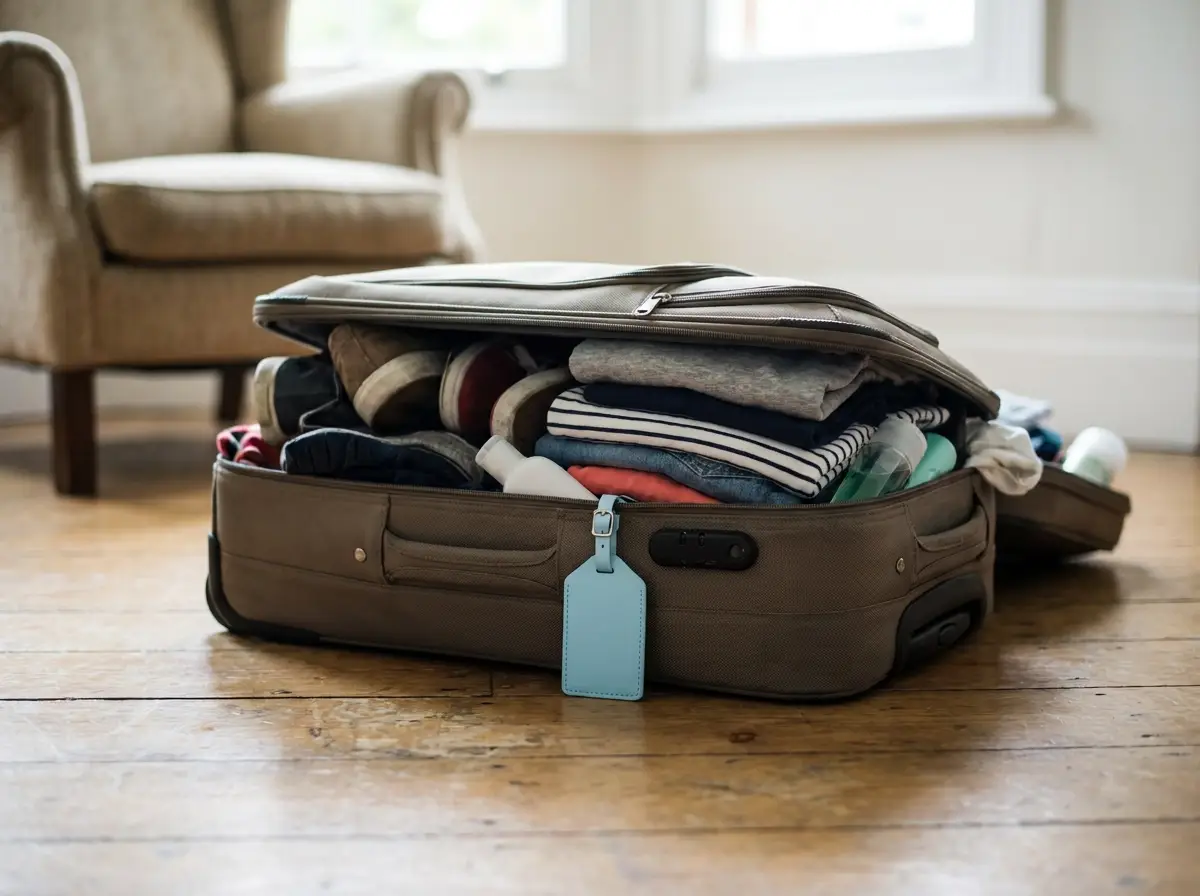
You’ve done it before. You haul an overstuffed suitcase through a crowded airport, pay $35 to check it, wait at baggage claim while everyone else walks straight to the exit, and swear that next time will be different. It rarely is.

Here’s the thing: packing light isn’t about suffering through a trip with one sad outfit and a travel-sized everything. It’s about being smart and intentional with what you bring so that your bag actually works for you, not against you.

This guide walks you through a practical, step-by-step system for traveling lighter without giving up the comfort you actually need. You’ll learn why most travelers overpack in the first place, how to build a flexible wardrobe around multi-use clothing, how to adapt your kit for different climates and trip lengths, and how to choose a bag that keeps everything organized and carry-on compliant.

The goal here isn’t minimalism for its own sake. It’s finding your optimal travel kit, the one that covers every situation without the extra weight slowing you down. Let’s build it.

Why Most Travelers Overpack (And What It Actually Costs Them)

Most travelers overpack for one simple reason: anxiety. The “what if I need it” instinct kicks in during packing, and suddenly a two-week trip requires a 50-pound bag. Travel behavior research suggests the average traveler uses roughly 60% of what they pack, meaning nearly half the weight they lug through airports, train stations, and cobblestone streets serves no purpose beyond peace of mind.

That peace of mind is getting more expensive by the year. In 2026, checked baggage fees have climbed steadily across major carriers, with many domestic round trips now costing $60 to $100 in bag fees alone. For frequent flyers, that adds up fast. Carry-on-only travel has shifted from a minimalist lifestyle choice to a straightforward financial decision.

The physical toll is just as real. A heavy bag slows you down at every single point in a trip: dragging it through terminals, wrestling it into overhead bins, carrying it up stairs when elevators are broken, and walking six blocks from the train station because the taxi line is too long. Fatigue compounds across a long trip in ways that are easy to underestimate before you leave home.

The good news is that none of this requires deprivation. Packing light is not about making do with less; it is about identifying which items genuinely earn their place versus which ones landed in your bag out of habit or worst-case-scenario thinking. If you want a solid foundation before diving into the system, the guide to TSA Approved Carry On Luggage: What You Need to Know is a practical starting point for understanding exactly what fits, what passes, and what does not.

The following steps will show you how to build that smarter, lighter approach from the ground up.

The Core Philosophy: Optimal, Not Minimal

So if overpacking is the problem, what exactly is the solution? Not minimalism for its own sake. The goal is optimal packing, and that distinction matters more than it sounds.

Ultralight travel expert James Clear, who has logged trips across more than 25 countries with a single carry-on, frames it this way: ruthlessly eliminate what is not essential, but never sacrifice genuine usefulness or comfort in the process. Lighter is not better if it means you are cold, underdressed, or hunting for a pharmacy on day two because you left something important at home.

Three Rules That Govern Every Packing Decision

His framework boils down to three foundational rules:

  1. Eliminate anything non-essential. If it is not pulling real weight on this specific trip, it does not go.
  2. Reduce weight without sacrificing function. Lighter versions of useful things are worth finding. Removing useful things entirely is not the same move.
  3. Optimize for comfort and good design over excessive features. A well-made item that does its job cleanly beats a complicated one every time.

That third rule deserves a name: the design-first principle. Think about the ten-zipper cargo pants problem. Those pants promise maximum utility but deliver maximum frustration. Practical, well-made gear that handles multiple situations comfortably is worth far more than single-purpose items engineered to look capable.

Every Item Earns Its Spot

Multi-use thinking is the operating system behind all of this. Before anything goes into your bag, it should answer one question: does this serve at least two functions or work across at least two contexts? A merino layer that works for a long flight, a chilly restaurant, and a morning hike earns its place. A specialty item that does one thing on one day earns a second look.

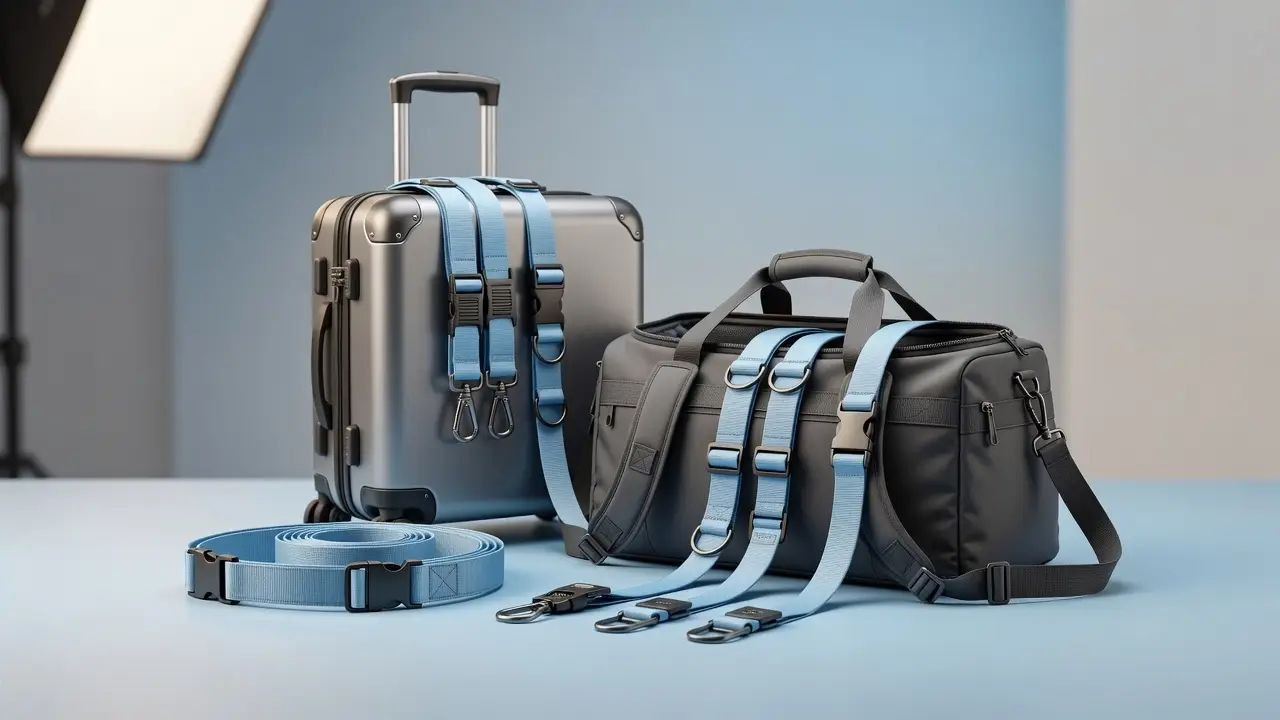
The right carry-on luggage built around this system makes the whole philosophy easier to execute in practice.

Here is the most important reframe before you pack a single item: you are building a system, not filling a bag. That shift in thinking changes every decision that follows.

Step 1: Audit What You Actually Use on a Trip

Building the right system starts with honest data from your own travel history, not anxiety about what might happen.

Do the post-trip audit immediately. The moment you get home, unpack and identify every item you never touched. Not “barely used.” Never touched. Those items leave the list permanently, no negotiation. This single habit does more to shrink your bag than any packing tip you’ll read online.

Build your master packing list from evidence, not fear. Most people pack for worst-case scenarios that never materialize. Instead, let past trips drive the list. What did you actually need? What did you reach for daily? Start there, and review that list before every departure with a pruning mindset, not an adding one. If you want a reliable baseline to cross-reference against your own history, The Complete Travel Essentials List: Everything Worth Packing is a solid starting point for identifying what genuinely earns a spot.

Review by category, independently. Clothing, toiletries, electronics, documents, and comfort items each get evaluated on their own terms. Don’t let “well, I need toiletries anyway” carry a redundant item through. Every category has its own dead weight. Each item in each category has to earn its spot on merit.

Apply the one-week rule on longer trips. For any trip over a week, ask: will I use this in the first seven days? If the honest answer is no, it doesn’t belong on a two-week or month-long itinerary either. Trips don’t introduce dramatically different needs in week two. They largely repeat week one.

Weigh the bag before and after auditing. Feeling lighter is vague. A number on a luggage scale is not. Weigh the packed bag, do the audit, weigh it again. That delta, whether it’s one pound or four, makes the exercise concrete and gives you a benchmark to beat on the next trip.

Step 2: Build Your Wardrobe Around Multi-Use Clothing

Once your audit is done and your list is pruned, the next decision is arguably the most impactful one in the entire system: what you actually bring to wear.

Start with a capsule of 5 to 7 clothing items that genuinely cross over between contexts. Think one pair of versatile pants that works for a day of walking and a casual dinner, two tops that layer or stand alone, a lightweight jacket, and one base layer. Every item should be wearable in at least two of your planned scenarios: sightseeing, an evening out, transit days, and light physical activity. If a piece only works in one context, it needs a very good reason to make the cut.

Fabric Is Half the Decision

Versatility in fit and style only gets you so far. The fabric determines whether that capsule actually holds up across a two-week trip.

Merino wool is the benchmark. It naturally regulates temperature, manages moisture, and resists odor across a wide range of climates, meaning you can rewear pieces between washes without issue. It also packs small and resists wrinkles well. For long trips, those properties are worth every cent of the higher price tag.

Synthetic blends (polyester-nylon mixes) are the practical alternative. They wick moisture, dry faster than merino, and cost less, which makes them the smarter pick for active itineraries or humid destinations where you need quick turnaround on laundry.

Avoid cotton as your primary fabric. It absorbs moisture and holds it, dries slowly, and gets noticeably heavier when damp. In tropical climates or high-activity travel, a soaked cotton shirt is a genuine problem, not just an annoyance.

Handle Shoes Before Anything Else

Shoes are the single heaviest category in most bags, and they deserve a hard rule before you start packing them: two pairs maximum.

One versatile walking shoe that handles both daily mileage and a casual dinner. One packable flat or sandal for evenings when you don’t need the support. That covers almost every situation on a long trip. Wear the heavier pair through the airport so it never takes up bag weight.

For the clothing side of this system, Essential Comfort Items for Long-Haul Travel: Your Ultimate Guide is a useful companion read. Essential for Travel also carries merino-blend travel tees and lightweight packable layers built specifically for multi-week itineraries, worth a look as you assemble your core wardrobe.

Step 3: Adapt Your Kit for Climate and Trip Length

Once you have your wardrobe dialed in, the next variable most packing guides completely skip is climate. A system that works perfectly in London will fall apart in Bangkok or Patagonia.

Tropical and Humid Climates

In Southeast Asia, Central America, and the Caribbean, layers are largely irrelevant. What matters is quick-dry fabrics (the synthetics and merino from Step 2 earn their keep here) and building laundry into your plan. Pack three to four outfits and plan to wash every one to two days, either at a guesthouse or a cheap local laundromat. That is lighter and more practical than stuffing extra clothes into a bag you will sweat through anyway.

Temperate and Variable Climates

Western Europe, the East Coast, and East Asia reward a proper layering strategy. A lightweight base layer, a mid-layer fleece or merino, and one packable wind or rain shell handle nearly every temperature scenario you will encounter. Three pieces replace what most travelers try to cover with six or seven. The shell earns its spot by pulling double duty as both a windbreaker and a light rain jacket.

Cold-Weather Travel

If your trip involves real winter, a quality packable down or synthetic jacket is the single best investment you can make. A good one compresses to roughly the size of a water bottle and effectively replaces two or three bulkier items you would otherwise pack. That compression-to-warmth ratio is hard to beat with any other garment.

Two Weeks or Longer

Stop trying to pack for every day of a long trip. Three to four outfit combinations with laundry access every five to seven days is lighter and more flexible than fourteen days of clothes. Build the laundry stop into your itinerary the same way you book accommodation, and you remove the main reason people overpack on extended trips. The smart packing tips for every traveler framework covers this rotation approach in more detail if you want to map it against your specific trip.

Multi-Climate Itineraries

Beach-to-mountain trips tempt people into packing for both extremes at once. The smarter move is to pack for the warmest leg and layer up when the climate shifts. Your warm-weather kit forms the base; cold-weather layers add on top. You pack once for the lightest scenario, not twice for every condition.

Step 4: Pack Smart for TSA and Carry-On Compliance

Once you’ve dialed in your clothing and climate strategy, TSA compliance is the next place where poorly planned carry-on bags fall apart at the worst possible moment: the security line.

The 3-1-1 rule is non-negotiable. Every liquid, aerosol, or gel must be 3.4 oz (100ml) or less, and every container must fit inside a single quart-sized clear bag. The mistake most travelers make is treating this as a last-minute toiletry edit rather than a starting constraint. Build your toiletry list around the quart bag from day one, and you’ll never be tossing your $30 face wash at the checkpoint.

The smarter move: go solid. Shampoo bars, solid conditioner, toothpaste tablets, and solid sunscreen eliminate the liquids bag problem entirely. These aren’t niche products anymore; they’re widely stocked at major retailers, pharmacies, and travel specialty stores. No bag. No counting ounces. No stress. For longer trips especially, solid toiletries also last longer per ounce of weight than their liquid equivalents.

Carry-on size is where confidence gets expensive. Airline overhead bin dimensions vary by carrier, and enforcement is inconsistent but tightening, particularly on budget carriers in Europe and Asia. A bag that sails through a U.S. domestic gate can get checked at the jetway in Europe and cost you $60. Always verify the specific airline’s published carry-on dimensions before you leave home, not at the gate.

If you want to understand exactly what makes a toiletry bag TSA approved and how to pack one correctly, that complete guide covers the 3-1-1 rule, current CT scanner updates, and a printable checklist worth bookmarking before your next trip.

TSA PreCheck and Global Entry speed up the process but don’t change the rules. You still comply with the same liquid limits and size requirements. The compliance strategy is identical; you just move through it faster.

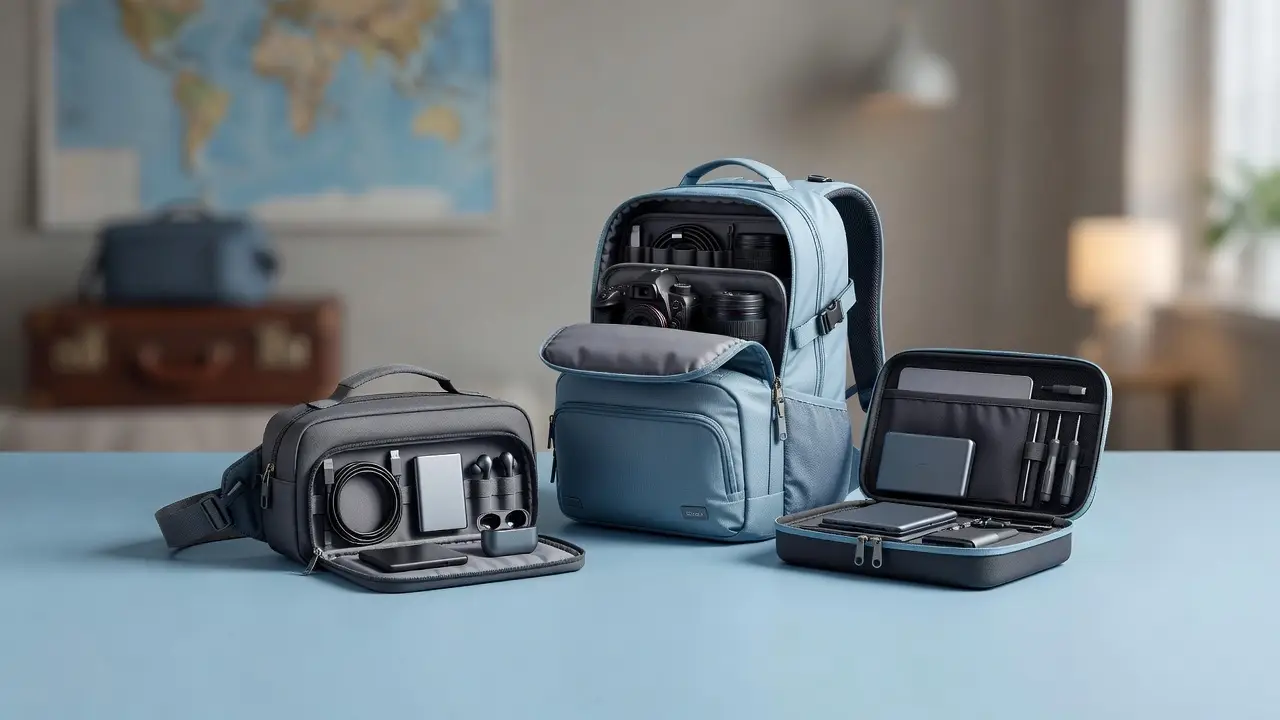
Electronics deserve their own layer in your bag. At standard screening, laptops and large tablets must come out of your bag and go into a separate bin. A dedicated laptop sleeve or tech compartment means you pull one item, not five. Bags without organized tech access slow down the entire line and your own nerves.

Essential for Travel’s TSA-approved toiletry kits and clear organizer pouches are built around current regulations, keeping your liquids accessible and correctly contained so the quart-bag checkpoint becomes a ten-second step rather than a rummage.

Step 5: Choose the Right Bag and Build an Organization System

Once your bag is compliant and your toiletries are sorted, the next decision shapes everything else: what you carry and how you organize it.

The Bag Format Decision

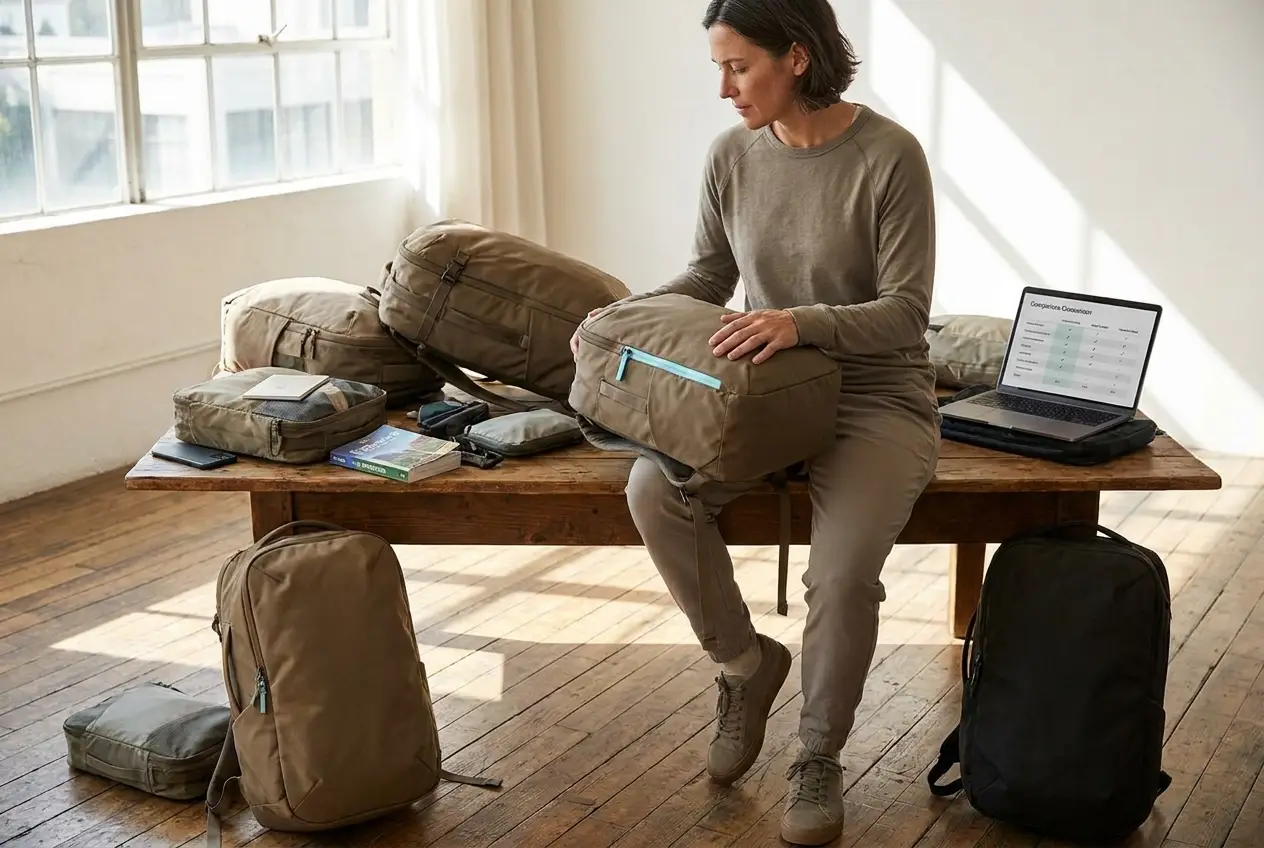
Two formats dominate carry-on-only long trips: a 40-liter backpack or a slim carry-on roller under 22 inches. Neither is universally better; the right choice depends on where you’re actually traveling.

Backpacks win on mobility. Cobblestone streets, subway turnstiles, bus aisles, and uneven terrain all favor a bag on your back. Rollers win on comfort during long airport days and work better in hotel environments where you’re living out of the bag rather than wearing it. Honest assessment: if your itinerary is city-heavy with lots of transit, lean backpack. If you’re moving between hotels and spending significant time in airports, a roller reduces the cumulative strain on your shoulders and back considerably.

Build an Organization System with Packing Cubes

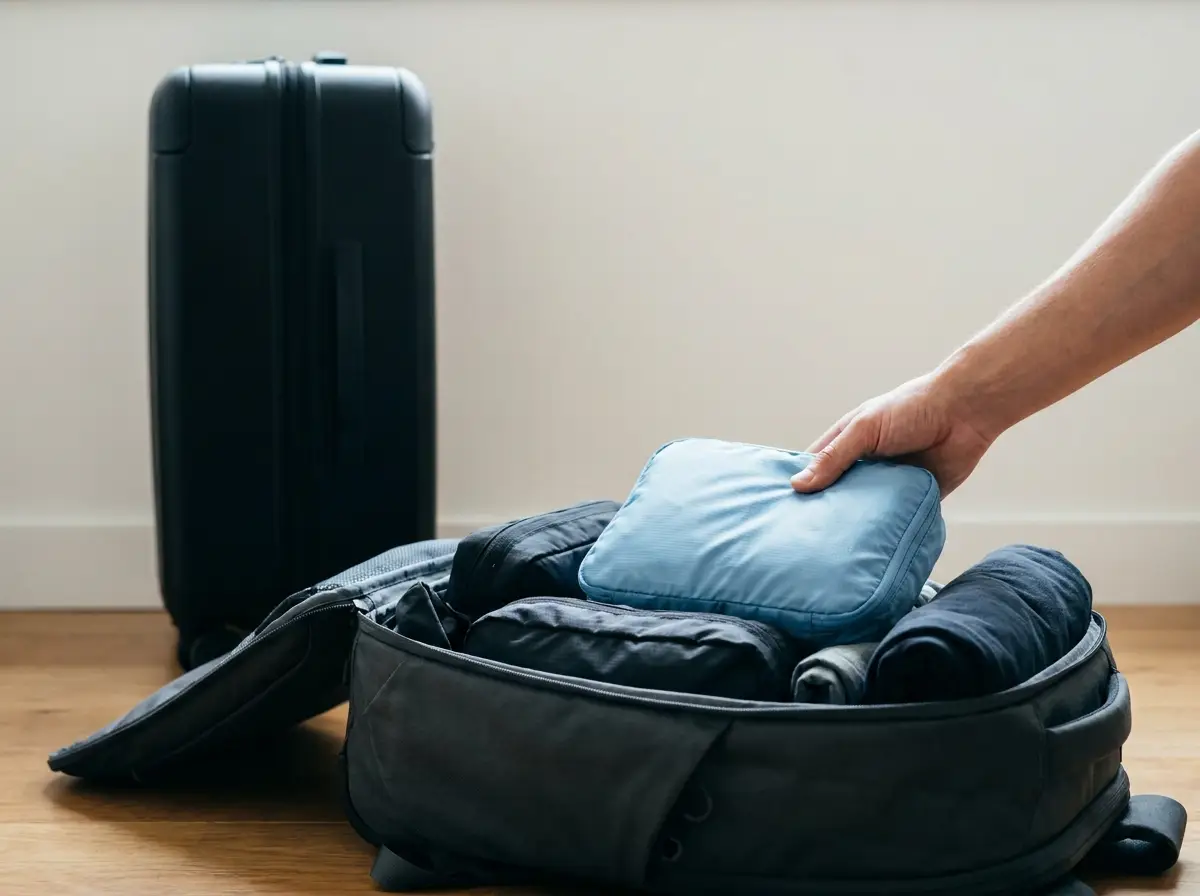
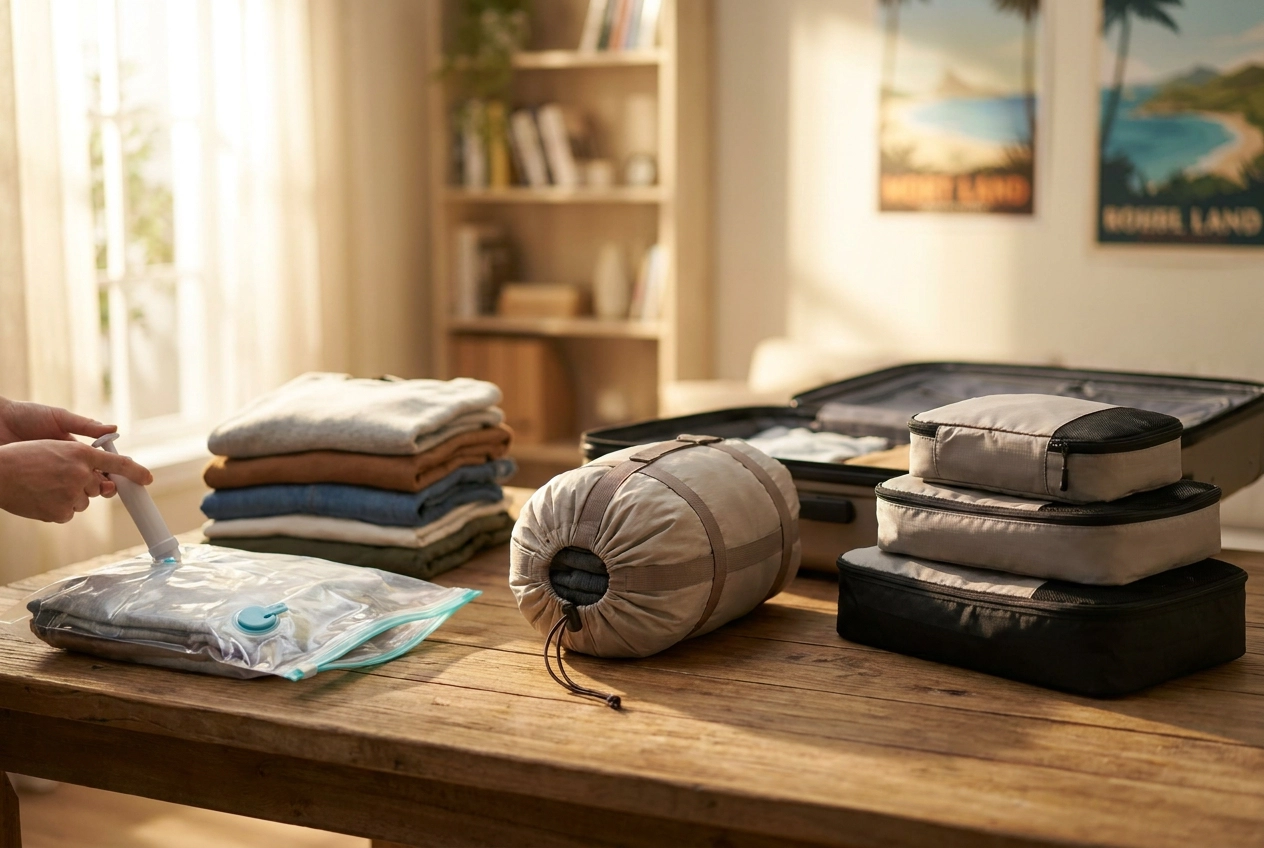
A good bag without an organization system is just an expensive pile. Packing cubes are the single most impactful organizational tool available for light packers. They compress clothing, create clear category separation (tops, bottoms, layers), and make unpacking at a hotel a 60-second task instead of a 10-minute excavation.

Compression cubes specifically are worth the upgrade on longer trips. By forcing air out of the fabric stack, they can reduce clothing volume by up to 60% compared to loose packing. That difference often determines whether your full kit fits in a carry-on or gets gate-checked. For two-week trips, that compression margin is not cosmetic; it’s functional.

Add a Packable Daypack

One of the highest-utility items you can carry is a packable daypack under 20 liters that compresses into your main bag. It covers day trips, beach days, city exploration, and shopping without forcing you to drag your full luggage everywhere. It functions as both a secondary bag and a flexible overflow option, making it a genuine multi-use item rather than a single-purpose accessory.

For a complete breakdown of which accessories are worth the space, the travel accessories guide at Essential for Travel covers every category in practical detail.

Essential for Travel’s packing cube sets and packable daypacks are built specifically for carry-on-based systems like this one and are worth considering as the organizational backbone of your setup before you move on to testing the full kit.

Step 6: Test Your Kit Before You Travel

Once your bag is packed and organized, don’t just zip it up and call it done. The real test happens before you leave home.

Do a full carry test first. Load the bag completely, then wear it or roll it around your house for 20 minutes. This sounds excessive until you realize that a 22-pound bag feels fine standing in your living room and brutal after 40 minutes in a crowded terminal. If the weight or balance gives you pause at home, it will wear you down on a long transit day.

Then try the overnight test. Pack everything, and for one full day, live exclusively out of that bag as if you’re already traveling. Two things will surface quickly: items you reach for but can’t find easily (an organization problem), and items you never touch at all (candidates for removal). One day of simulated travel tells you more than any packing checklist.

Weigh the bag before you leave. This step alone has saved countless travelers from a gate-check fee. Airlines are now enforcing carry-on weight limits more strictly, particularly on international routes, with many carriers setting limits between 15 and 22 pounds for overhead bins. Size isn’t the only variable being checked at the gate. Before you fly, confirm your specific airline’s carry-on weight policy; our complete 2026 airline carry-on size and weight guide breaks down the current rules by carrier so you’re not guessing.

Treat your packing list as a living document. Experienced light packers don’t arrive at a perfect kit after one trip. They refine it over months, removing one thing here, swapping another there, until the list reflects what they actually use, not what they imagined they’d need.

Benchmark against other travelers. Communities like r/onebag are full of real-world kit comparisons from people who’ve already worked through the same decisions. A quick post sharing your list gets you feedback that compresses months of solo trial-and-error into days.

Why Comfort Is the Non-Negotiable in This System

Once you’ve tested and refined your kit, here’s the principle that holds the entire system together: light packing only works long-term if it never forces you to be uncomfortable.

That sounds obvious, but it’s easy to get it wrong. Cutting weight by leaving behind your sleep essentials or squeezing into a bag that wrecks your shoulders is not a win. It’s a trade-off that compounds across a two-week trip until you’re exhausted, irritable, and wishing you’d just checked a bag.

The small comfort items are always worth it. A quality neck pillow, a compact sleep mask, and earplugs or noise-canceling earbuds weigh almost nothing combined, yet they’re the difference between arriving rested and arriving wrecked. Research backs this up: eight in ten travelers report losing sleep during trips, with the average journey costing nearly five hours of sleep. Over half say skipping rest negatively affected their trip. A $15 sleep mask and a pair of foam earplugs address that problem directly. Pack them every time.

Ergonomics matter more than weight savings on your bag. A backpack with poor weight distribution becomes a physical liability within hours. Shoulder pain and back fatigue accumulate fast on long travel days. Choose a bag with a structured back panel and load-bearing hip or sternum straps over the lightest bag with the worst carry experience. The few extra ounces are irrelevant compared to the physical cost of a bag that fights you.

Light packing is itself a comfort upgrade. Travelers who ditch checked luggage move through airports faster, carry less physical weight, and gain flexibility that checked-bag travelers simply don’t have. No waiting at baggage claim. No anxiety about lost bags. Easier last-minute itinerary changes when a connection shifts or a flight reroutes.

The psychological payoff is equally real. Knowing exactly what’s in your bag and exactly where it is removes a constant low-level drain on your attention. A well-organized, right-sized kit means fewer decisions, less mental clutter, and a noticeably calmer travel experience from departure to return.

Your Light Packing Action Plan

That comfort-first mindset is exactly what this entire system is built to protect. Here is the complete six-step framework in one place.

The six steps, in order:

  1. Audit ruthlessly. Cut anything you did not use on your last trip.
  2. Build a multi-use wardrobe around performance fabrics like merino wool or synthetic blends.
  3. Adapt for your climate and trip length. Factor in laundry; do not pack for every day.
  4. Comply with TSA and carry-on rules from the start, not as a last-minute scramble.
  5. Choose the right bag and organize it intentionally with packing cubes and a designated tech layer.
  6. Test before you travel. Wear the loaded bag for 20 minutes; live out of it for a day.

The philosophy underlying every step is the same: the goal is optimal, not minimal. You are not chasing a weight number. You are asking whether each item earns its place through genuine usefulness and comfort. That reframe changes every packing decision you make.

Your one immediate action: go find your bag from the last trip you took. Pull it out right now. Identify everything you never touched. Remove those items from your list permanently. That single exercise will do more for your next trip than any gear purchase.

Once your list is trimmed, the right tools make the system easier to execute consistently. Essential for Travel’s curated selection of packing cubes, performance travel clothing, and TSA-approved toiletry organizers is built specifically for the approach outlined in this guide. Browse the collection when you are ready to upgrade the gear behind your system.

Conclusion

Packing light and traveling comfortably are not opposing goals. They are the same goal, achieved through better decisions before you ever leave home.

The core takeaways are straightforward: audit ruthlessly and cut what you never use; build a wardrobe around versatile, high-performance fabrics; plan for laundry rather than packing for every day; and test your full kit before the trip, not at the airport.

Every step in this system returns to one principle: optimal, not minimal. The right item earns its place. The wrong item costs you energy, money, and freedom throughout your entire journey.

Start today. Pull out your last bag, remove everything you never touched, and rebuild from that leaner foundation. Your future self, moving easily through airports and arriving refreshed, will be glad you did.