
By Garry Barnes | Published
Editorially reviewed . Check the linked official sources for current travel requirements.
Start with your trip length and baggage allowance, then compare torso fit, loaded comfort, access to essentials, and packed dimensions. Liters describe capacity but do not establish airline acceptance. Choose compartments that match your gear rather than selecting by pocket count alone.
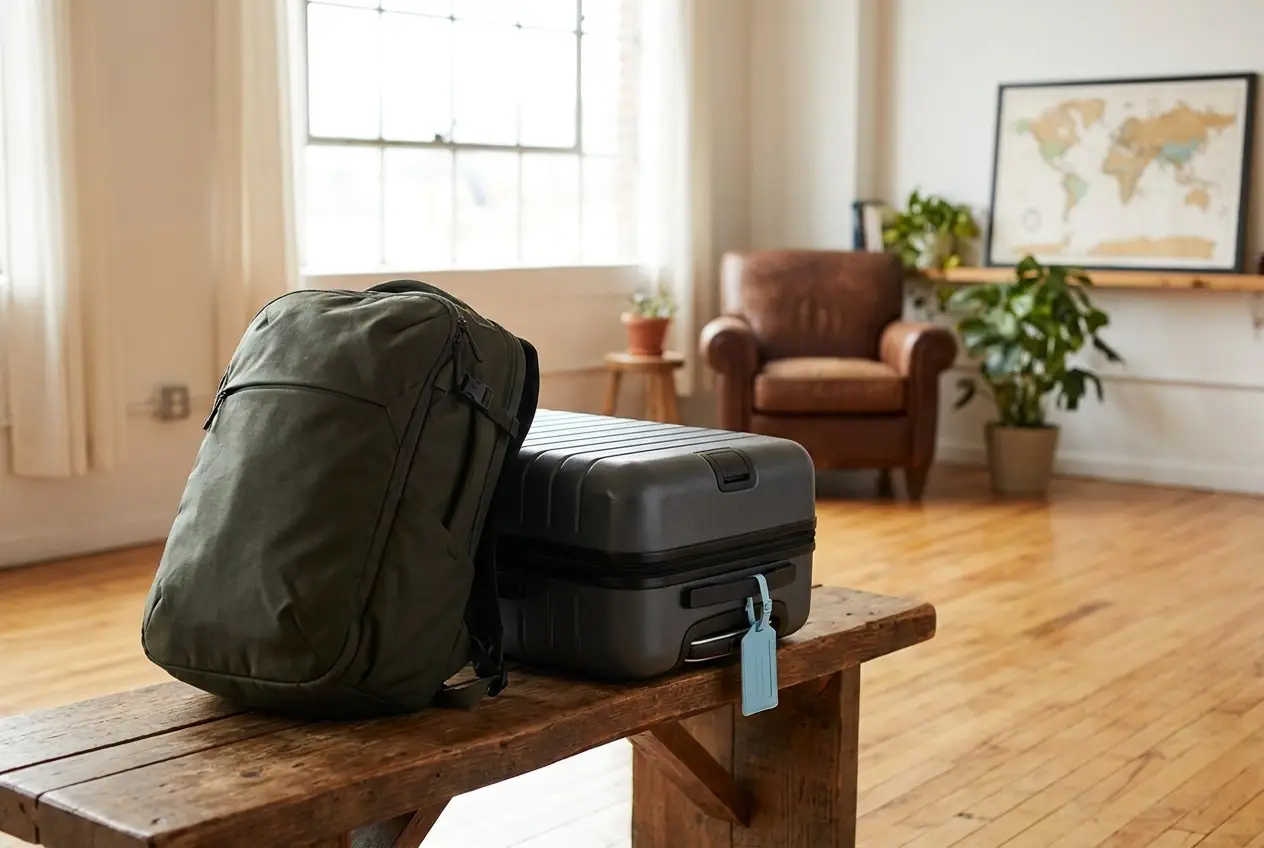
Choose a travel backpack by comparing its fully packed dimensions with your transport requirements, its capacity with your packing list, and its fit with the weight you expect to carry. Then check how easily you can reach documents, toiletries and electronics. This guide helps you compare size, fit and features for weekend trips, longer journeys and everyday travel.
Use your next trip as the test: list what you need to carry, check your baggage allowance, and try the loaded bag. The sections below compare capacity, fit, access, security features, and construction.
Picture this: you’re sprinting through an airport, your backpack digging into your shoulders, zippers bursting at the seams, and you can’t find your passport because everything is jumbled together. Sound stressful? That scenario plays out for thousands of travelers every day, and the culprit is almost always a poorly chosen travel backpack.
The wrong bag creates real physical problems. A pack that doesn’t fit your frame properly puts uneven pressure on your shoulders, neck, and lower back. After a few hours of walking through terminals, cobblestone streets, or train stations, that discomfort turns into genuine pain that can derail your entire trip.
Carry-on-only travel is also becoming the go-to approach for modern travelers who want to skip baggage fees and move faster through airports. That means your backpack isn’t just a day bag anymore. It may be your only bag, responsible for carrying everything you need for days or even weeks on the road.
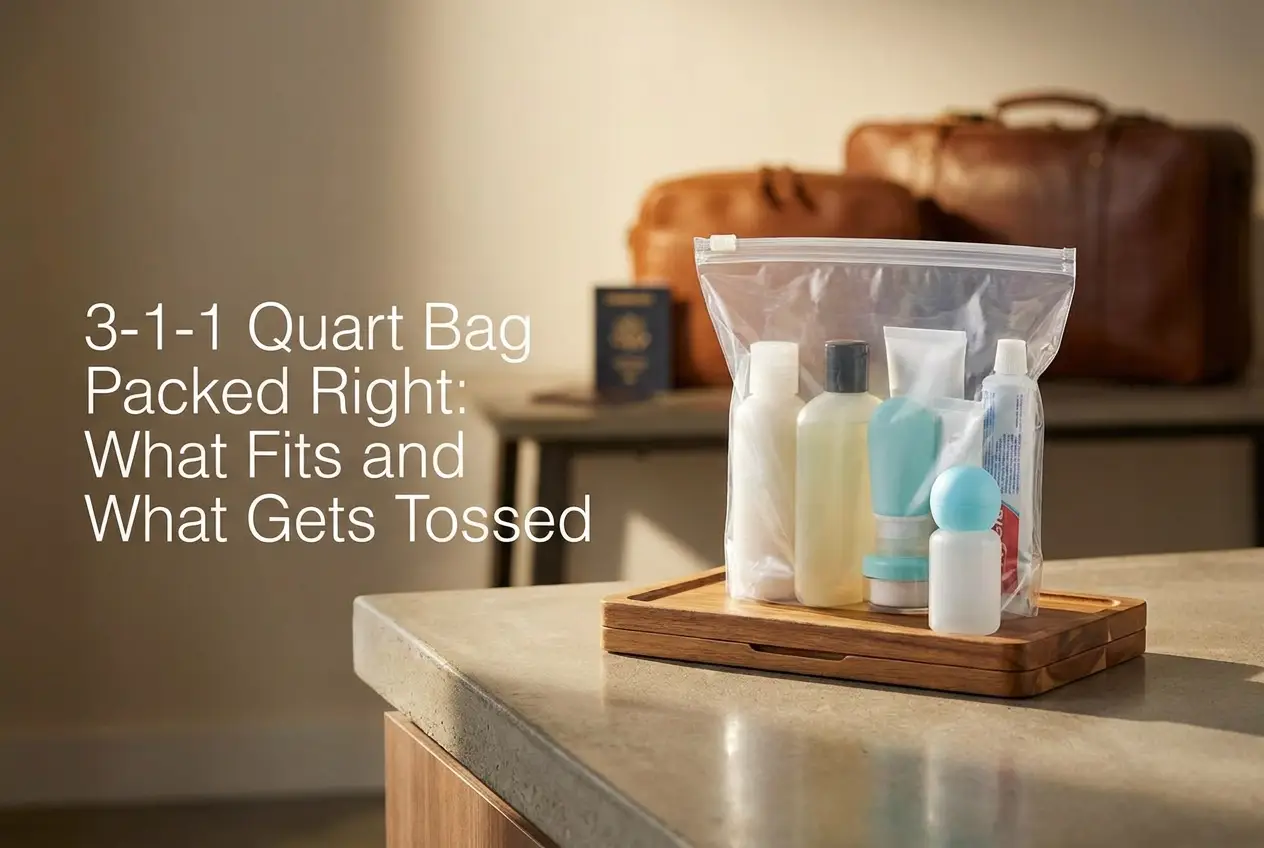
The right travel backpack keeps your essentials organized and within easy reach, especially important during security checks where you need to move quickly and confidently. Dedicated compartments for your laptop, documents, and liquids make a real difference at checkpoints.
Finally, matching your bag’s size to your actual trip length is a game-changer. A weekend bag is very different from a two-week international pack, and choosing correctly helps you pack smarter from the start.
Before you fall in love with any travel backpack, you need to make sure it will actually make it onto the plane with you. This is one of the most overlooked steps for beginner travelers, and it can cost you real money if you skip it.
Personal-item limits vary by airline, fare, route, and sometimes aircraft, so there is no single dimension that works everywhere. Budget carriers may apply especially tight limits. Always check the operating airline’s current baggage policy before departure and measure the fully packed bag, including handles, straps, and exterior pockets.
The financial stakes are real. A backpack that exceeds size limits can get gate-checked, and those fees on budget airlines can run surprisingly high, sometimes more expensive than if you had just paid for a checked bag upfront.
When shopping, look for backpacks that clearly advertise their dimensions and include a liter volume rating. Liter capacity can help you compare storage volume, but airline acceptance depends on the fully packed exterior dimensions, weight, fare, route, and operating carrier rather than liters alone.
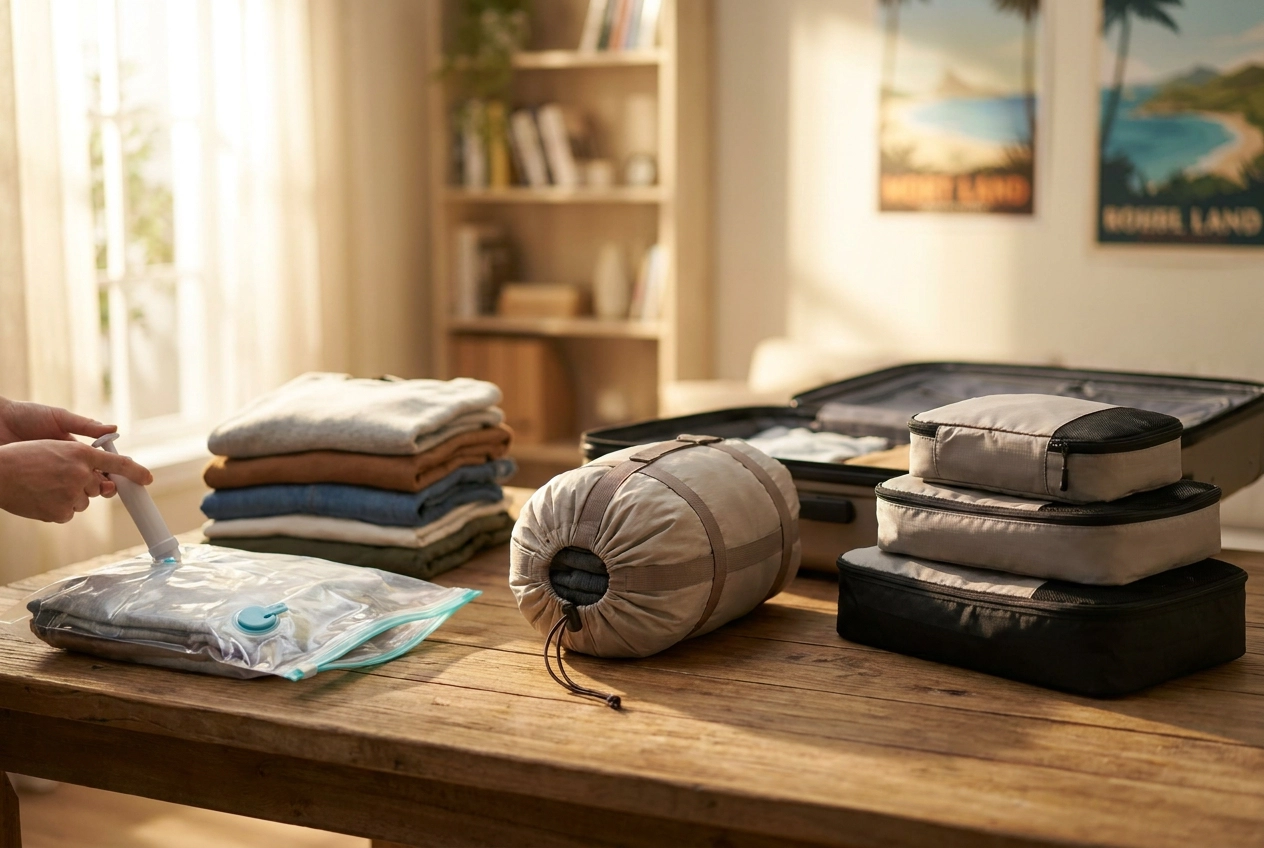
Two features that can help control bulk are external compression straps and the smart use of interior packing aids. Compression straps can reduce loose bulk, but they do not reduce the weight of your contents or guarantee that a fully packed backpack will meet an airline’s size limit. Inside the bag, vacuum compression bags can reduce the volume of soft clothing. Measure the finished bag after packing and compare it with the operating airline’s current dimensions.
One of the first things beginner travelers get wrong is grabbing whatever backpack looks cool without thinking about how much space they actually need. Liter capacity is the key number to understand here, and matching it to your trip length will save you a lot of frustration before you even leave the house.
For weekend trips lasting one to three days, a backpack in the 20L to 30L range can be a practical starting point. Whether it qualifies as a personal item depends on the operating airline’s published dimensions, your fare, and how fully the bag is packed, so compare the packed exterior measurements with the airline’s current limits before departure.
For a trip of four to seven days, the 30L to 40L range can be a starting point. Clothing bulk, laundry access, equipment, and your packing habits may make a smaller or larger bag more suitable. This is where smart packing tools really start to earn their keep. Pairing your bag with vacuum compression bags can shrink bulky clothing down significantly, helping a mid-size backpack punch well above its weight.
For two-week or longer international trips, some travelers prefer a 40L to 50L backpack for extra capacity. Do not assume a bag in that range qualifies as a carry-on; compare its fully packed exterior dimensions and weight with every operating airline’s current limits.
Here is the golden rule: choose the smallest bag your trip realistically requires, then use packing organizers to fill it efficiently. This simple mindset shift forces you to pack intentionally rather than just tossing things in and hoping for the best. Overpacking is the number one mistake beginners make, and the right liter size is honestly your best defense against it.
Test your actual clothing, weather layers, and activity gear in the backpack. Check loaded comfort for walks, stairs, and transfers. For flights, compare packed external dimensions with the allowance rather than relying on liter capacity. Check expanded and unexpanded configurations separately.
Airline size checks for packed bags.
Once you’ve sorted out size and capacity, comfort becomes the next big thing to get right. A backpack that fits poorly will ruin even the most exciting trip, so here are the key features to look for.
Shoulder straps: Test their shape, padding, and adjustment with your expected load. More padding is not automatically a better fit. Check for pressure, rubbing, or restricted movement during a realistic carrying test.
Back panel: Compare its shape and contact points against your torso. Ventilation features may be useful in warm conditions, but they do not guarantee that your back stays cool or dry.
Sternum strap: If equipped, adjust it to help stabilize the shoulder straps without restricting comfort or breathing. It is not a substitute for a correctly fitted load-bearing hip belt.
Hip belt: A structured, correctly fitted belt may transfer some load to the hips. A thin waist strap may mainly stabilize the bag. Not every travel backpack needs a load-bearing belt; compare the harness with your expected load and walking time.
Finally, check for torso sizing or an adjustable suspension system. Your torso length can affect how well a backpack sits on your body, especially on designs with structured harness systems. Some travel backpacks come in multiple torso fits, while others offer adjustable frames or simpler fixed-length straps. Compare the actual fit rather than relying on height alone.
Once you’ve nailed down comfort and fit, the next game-changer is how well your backpack keeps everything organized and within reach. A well-designed travel backpack works almost like a personal assistant, putting the right things in the right places so you’re never frantically searching at the worst possible moment.
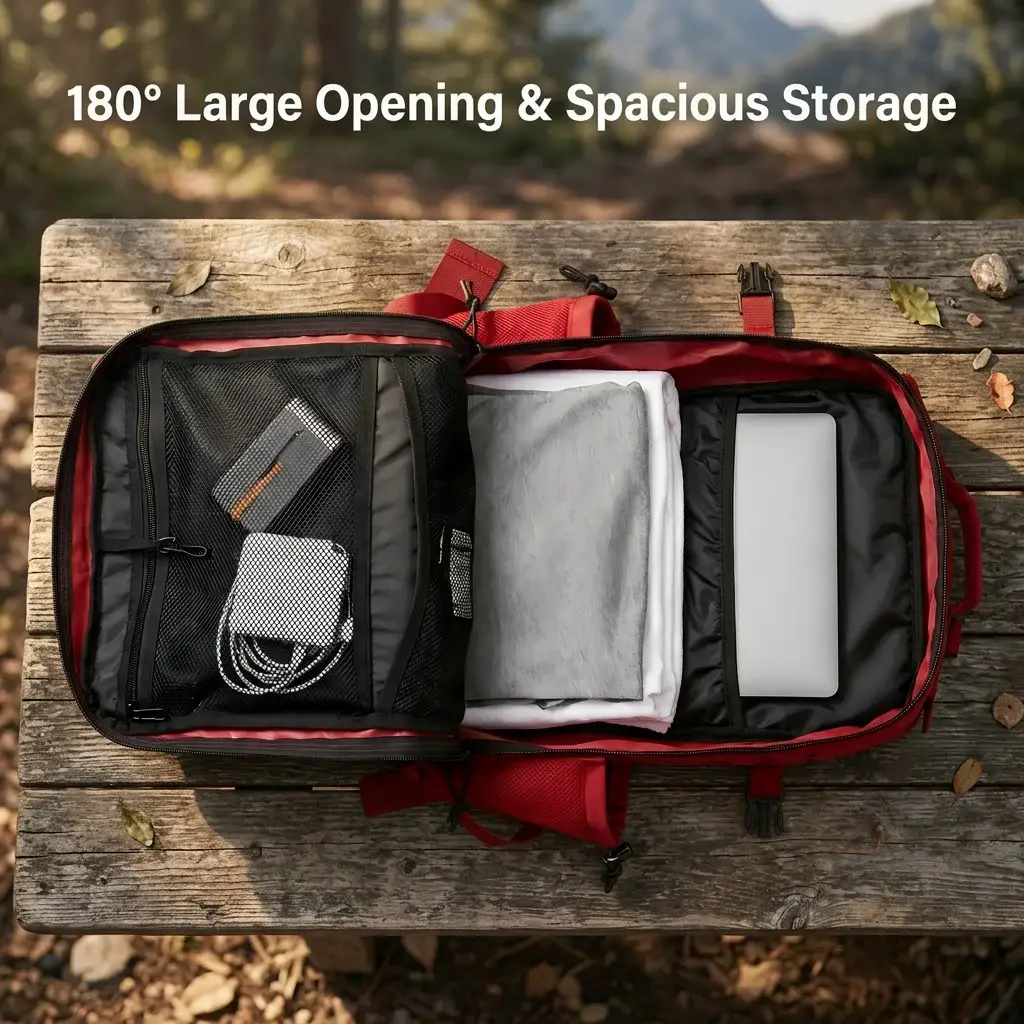
Clamshell opening designs are a huge win for beginner travelers. Instead of rummaging through a top-loading bag like you’re fishing for something at the bottom of a laundry basket, a clamshell backpack opens flat like a suitcase, giving you a full view of your contents. This makes packing and unpacking at hotel check-ins or security lines so much smoother.
External quick-access pockets are equally important. Look for a backpack with multiple outer pockets sized specifically for your passport, boarding pass, phone, and even a water bottle. Having these items within arm’s reach without opening the main compartment saves real time during your trip.
If you carry a laptop or tablet, a dedicated padded tech compartment can make airport screening and everyday access easier. Screening procedures vary by checkpoint and equipment, so follow the officer’s instructions about whether electronics must be removed from the bag.
Internal organizational panels with loops, small pouches, and dividers are perfect for keeping cables, pens, lip balm, and other small items from disappearing into the abyss of your bag.
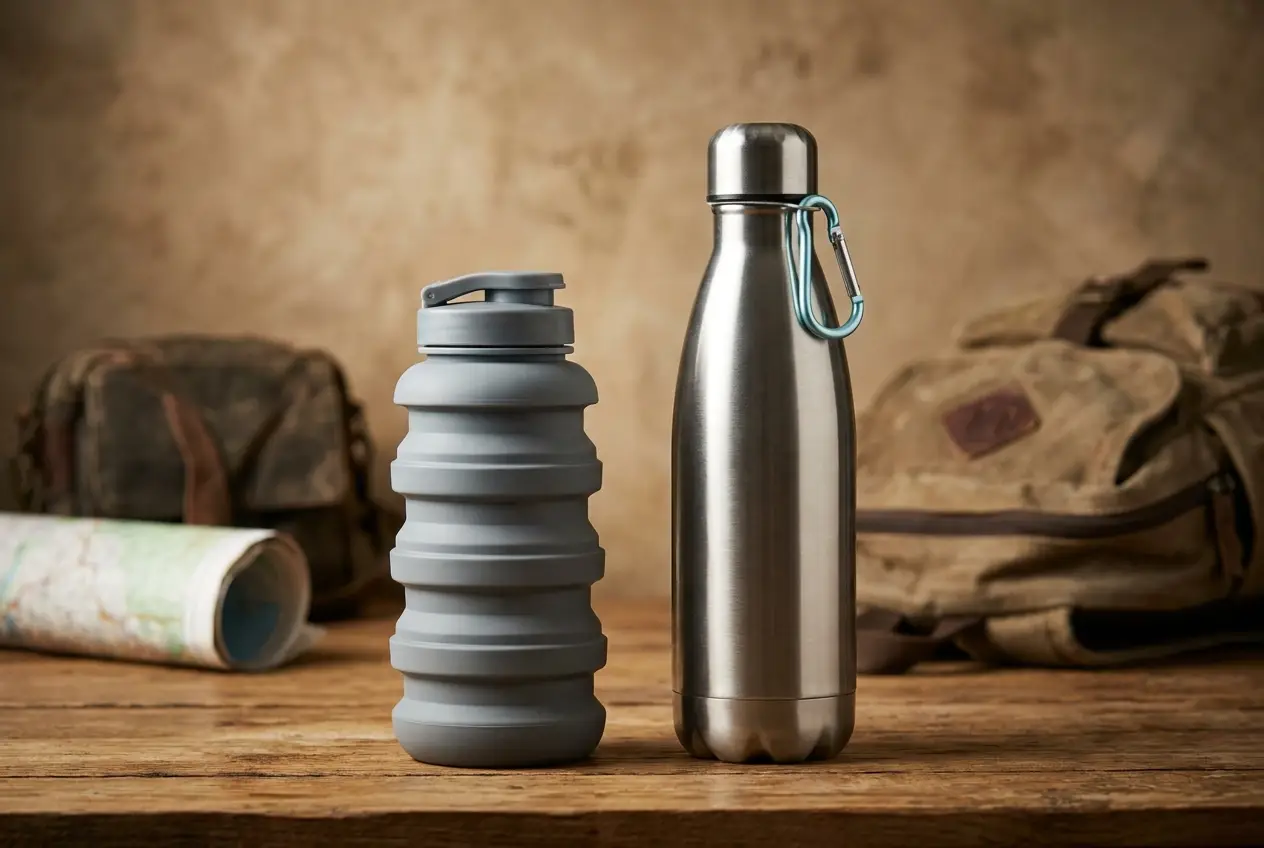
Finally, a side water bottle pocket large enough to hold a collapsible water bottle keeps you hydrated on the go without ever needing to stop and remove your backpack.
Now that your backpack is dialed in for comfort and organization, let’s talk about keeping everything inside it actually safe. Security features might not be the first thing on a beginner traveler’s mind, but they become very important once you’re navigating a busy train station or a crowded city market.
Hidden or inward-facing zippers are features to compare when reviewing a backpack’s security design. Check where the openings sit when you wear the bag and how you will keep valuables close. No zipper layout guarantees protection against theft; keep your bag attended and close compartments after use.
Lockable zipper pulls allow a compatible small lock to connect the sliders. Check the opening size and lock fit before buying. A lock can limit casual access, but it does not make a soft-sided bag theft-proof. Keep valuables and your bag attended.
RFID-blocking pockets can add another layer of organization for compatible cards and documents, but they should not be treated as a guarantee against theft or fraud. Keep passports, cards, and cash physically secure and monitor your bag closely in crowded places.
Cut-resistant straps and panels: Ask for the exact material specification or relevant test results before relying on a resistance claim. Reinforcement does not make a bag theft-proof. Compare access points and keep valuables physically secure.
As carry-on-only travel continues to grow in popularity, your backpack becomes the one bag holding everything valuable. Passport, cash, cards, electronics, all in one place. Investing in a backpack with solid anti-theft features is simply smart packing strategy.
Beyond security and organization, the material your travel backpack is made from determines how long it actually lasts. Let’s break down what to look for.
Fabric: Compare documented material specifications, construction, and abrasion or tear testing when available. A fabric name alone does not establish how durable the finished bag will be.
Water protection: A water-repellent finish is different from a waterproof bag. Check the maker’s rating, seam and zipper construction, and care instructions. Use separate protection for belongings that must stay dry.
Recycled materials: Evaluate the finished bag’s construction and documented performance rather than assuming recycled content guarantees durability or a lower environmental impact.
Zippers: Test smooth operation with the bag loaded, inspect stitching and attachment points, and check repair options. A brand name or price tier alone does not establish reliability.
Inspect strap attachment points for consistent stitching and secure construction. Reinforced stitching is one feature to compare, but it does not establish the durability of the whole bag. Check the maker’s load guidance, warranty, and repair options.
Once your travel backpack is packed and checked into your hotel, the last thing you want is to haul the whole thing around while exploring a new city. That’s exactly where a chest bag comes in. A chest bag, sometimes called a sling bag, is a compact bag worn across your chest or over one shoulder. It holds just the essentials and keeps them within easy reach while you’re out and about on day trips, walking tours, or casual city exploring.
The smartest way to use a chest bag is as part of a two-bag travel system. Your main travel backpack stays back at the hotel with your clothes and gear, while your chest bag carries everything you actually need for the day. Think of it as your go-everywhere companion. Ideal items to toss in include your phone, wallet, a few cards, sunscreen, a snack, and a collapsible water bottle that folds flat when empty. This setup keeps you light, comfortable, and way less stressed while navigating busy streets or tourist spots.
A chest bag can keep in-flight essentials accessible, but check whether your fare permits it as a separate item. You may need to pack it inside your allowed bag before boarding. Follow crew instructions for under-seat storage.
Compare a chest bag’s dimensions, strap adjustment, and usable space with your day-trip kit. Check how it packs inside your main bag if your baggage allowance does not permit an additional separate item.
Packing smart is just as important as choosing the right backpack, and these five tips will help you get more out of every trip.
You’ve covered a lot of ground in this guide, and here’s the bottom line: finding the right travel backpack comes down to six things. Carry-on compliance, capacity matched to your trip length, comfort features that actually fit your body, smart organization, solid security, and durable materials. Miss one of those, and you’ll feel it somewhere between the airport and your destination.
But remember, the best travel backpack is not the priciest one or the most popular one online. It’s the one that fits your specific trips and packing habits. A weekend city hopper needs something completely different from someone planning a two-week adventure across multiple countries.
The real upgrade happens when you build a full gear system around your backpack. Pair it with vacuum compression bags to reclaim packing space, a chest bag for city days, a collapsible water bottle, and a travel pillow for long flights.
Browse Essential For Travel’s travel gear around the needs on your checklist. Compare each item’s dimensions, features, and intended use before combining it with your backpack; compatibility depends on the products you choose.
For many travelers, a backpack in the 30L to 40L range offers a practical balance of capacity and portability, but airline size limits vary. Compare the packed bag’s exterior dimensions with your airline’s current rules before departure. See our carry-on luggage size guide for more planning help.
A clamshell opening is usually easier for air travel because it opens like a suitcase, making packing, security checks, and hotel unpacking faster. Top-loaders can be better for hiking or situations where you need a narrower profile.
The shoulder straps should sit comfortably without digging in, the back panel should rest close to your torso, and a sternum or hip strap should help stabilize heavier loads. Adjust the bag with the approximate load you expect to carry, and check comfort during a realistic walk.
For more organization ideas, read our packing cubes vs. compression cubes guide.
Before buying, check every requirement that is essential for your trip. If the bag fails a mandatory size or weight allowance, cannot carry your required kit, or is uncomfortable with your load, adjust the setup or compare another bag.
| Check | Pass | Fail |
|---|---|---|
| Airline fit | Packed dimensions fit your operating airline’s current allowance. | You are relying only on a “carry-on” product label. |
| Comfort | You can walk 10 minutes fully loaded without shoulder or back hotspots. | The bag pulls backward, bounces, or digs into your shoulders. |
| Organization | Laptop, documents, toiletries, and cables each have an obvious place. | You must unpack the main compartment to reach basic essentials. |
| Capacity | Your normal packing list fits without forcing the zippers closed. | You need expansion just to fit a routine trip. |
| Weight | The packed load feels manageable for your actual walking and transit plans. | You are choosing extra capacity you do not realistically need. |
If shoulder carrying does not suit your route, compare wheels and lifting access in our carry-on luggage buying guide. For short trips with less walking, our travel duffel bag guide explains flexible packing layouts and carrying trade-offs.
Shortlist bags that hold your required kit, meet the allowances for your itinerary, and feel comfortable with the expected load. Compare their usable compartments and closures. If a listed dimension or feature is unclear, ask a product question before ordering.
Use the product comparison and fit checklist below to make the final choice. Add accessories only when they solve a specific need and fit the finished setup.
| Trip type | What to prioritize | Product to compare | Before you buy |
|---|---|---|---|
| Weekend or short city trip | Compact size, low empty weight, quick-access pockets | BANGE 20L Travel Backpack | Measure the packed bag and compare it with your airline’s personal-item or carry-on limits. |
| 4–7 day carry-on trip | Expandable capacity, laptop storage, organization | BANGE Expandable 37–45L Backpack | Check the bag at both its compressed and expanded dimensions before relying on it as a carry-on. |
| Outdoor or gear-heavy trip | Durability, multiple compartments, load control | 35L Tactical Backpack | Confirm that the shoulder straps, chest buckle, and packed weight feel comfortable during a 10-minute test walk. |
| Longer or equipment-heavy travel | Higher capacity and compartment separation | 45L Tactical Backpack | Do not assume a 45L bag meets cabin limits; verify its packed exterior dimensions with the operating airline. |