How to Build a Travel Packing System in 9 Steps
Editorially reviewed . Check the linked official sources for current travel requirements.
What is a practical travel packing system?
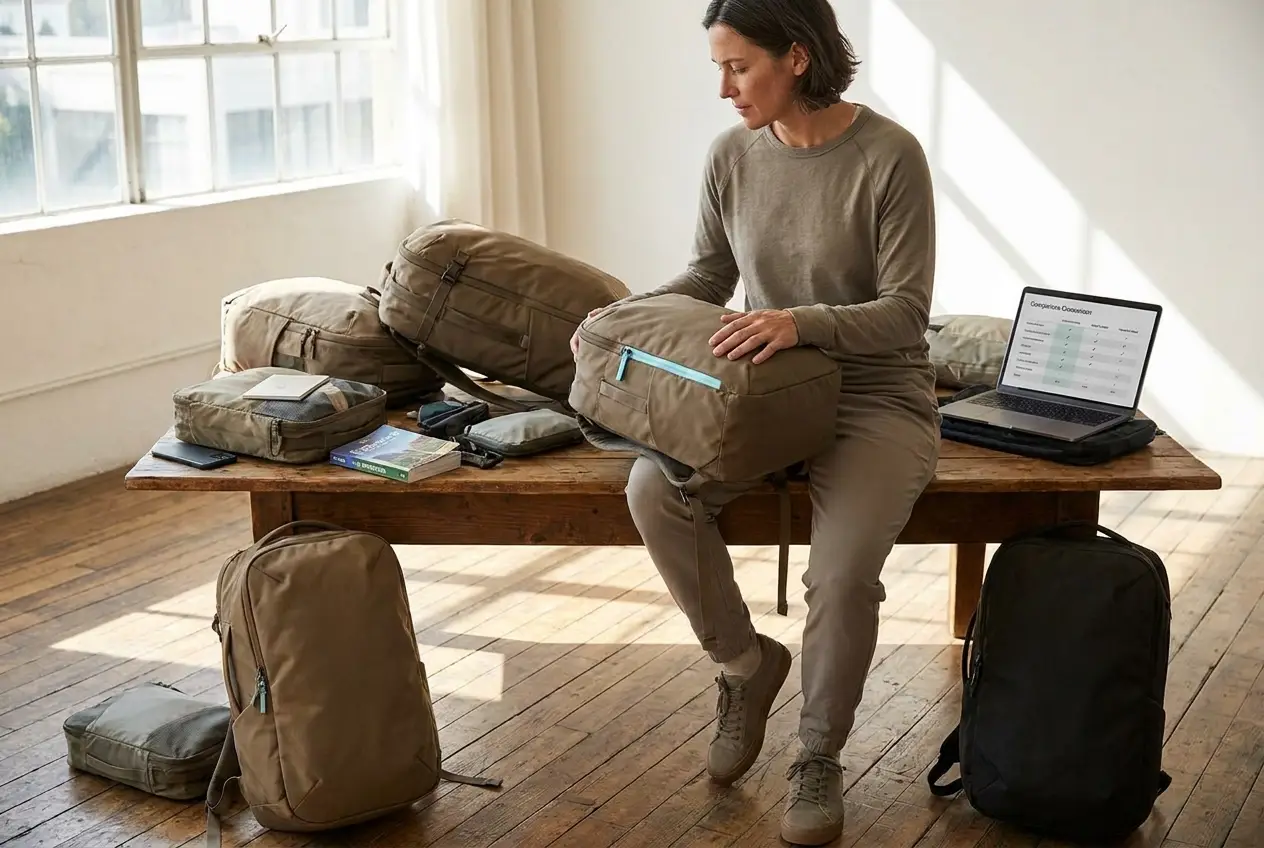
Start with documents and essential items, build clothing around your itinerary, and group toiletries, electronics, and accessories in separate sections. Check packed size and weight, remove duplicates, and keep arrival essentials accessible. Use the same checklist again when repacking for the return trip.
Quick packing plan: Check your itinerary, weather, and airline baggage allowance. Set aside documents and medication, pack clothes for your actual activities, and organize toiletries and electronics. Measure and weigh your finished bag, then repeat the checks before your return flight. Always confirm current rules with your airline and destination authorities.
9-Step Travel Packing System
Choose your approach: Pack for your activities and weather. If laundry is available, bring enough clothing until your first wash. On a strict carry-on fare, keep essentials and remove optional extras first.
Step 1: Check Your Itinerary, Weather, and Baggage Rules
Check your itinerary, forecast, planned activities, and accommodation facilities. Confirm the baggage allowance attached to your booking with the operating airline. For international travel, review destination entry requirements and any restrictions that affect what you pack. Check the U.S. Department of State international travel guidance for destination-specific planning, and confirm entry requirements with the destination’s official authorities.
Done when: You have saved the applicable baggage limits, checked the forecast, and confirmed any required travel documents.
2. Set Aside Essential Documents and Personal Items
Gather the identification and documents your route requires, payment methods, relevant booking details, medication, and accessibility essentials. Keep the items you need during the journey accessible. A passport is essential on many international routes; it is not a universal requirement for every trip.
Done when: You can retrieve your required documents and medication without unpacking your bag.
3. Choose and Check Your Bag
Use our carry-on luggage buying guide to compare formats. For a flexible bag, our duffel guide covers carrying comfort, packed shape, and access.
Use a bag suited to your allowance and the transport you will use. Compare its full exterior dimensions, including wheels, handles, and filled pockets, with your booking requirements. Expansion adds space but can push a suitcase beyond an allowance. Test whether you can carry or roll it comfortably.
Done when: Your chosen bag fits the relevant allowance and you can handle it comfortably.
4. Build Clothing Around the Itinerary
Choose outfits that work for your actual activities and weather. Decide whether laundry is practical before reducing clothing quantities. Keep necessary weather protection, health supplies, and accessibility items even if you hope not to need them.
For a four-day trip, start with enough underwear, appropriate tops and bottoms, sleepwear, and layers for the forecast. Adjust for formal events, exercise, and laundry instead of using a fixed count for everyone.
Done when: Every planned activity has suitable clothing and unnecessary duplicate outfits are removed.
5. Choose One Organization Method
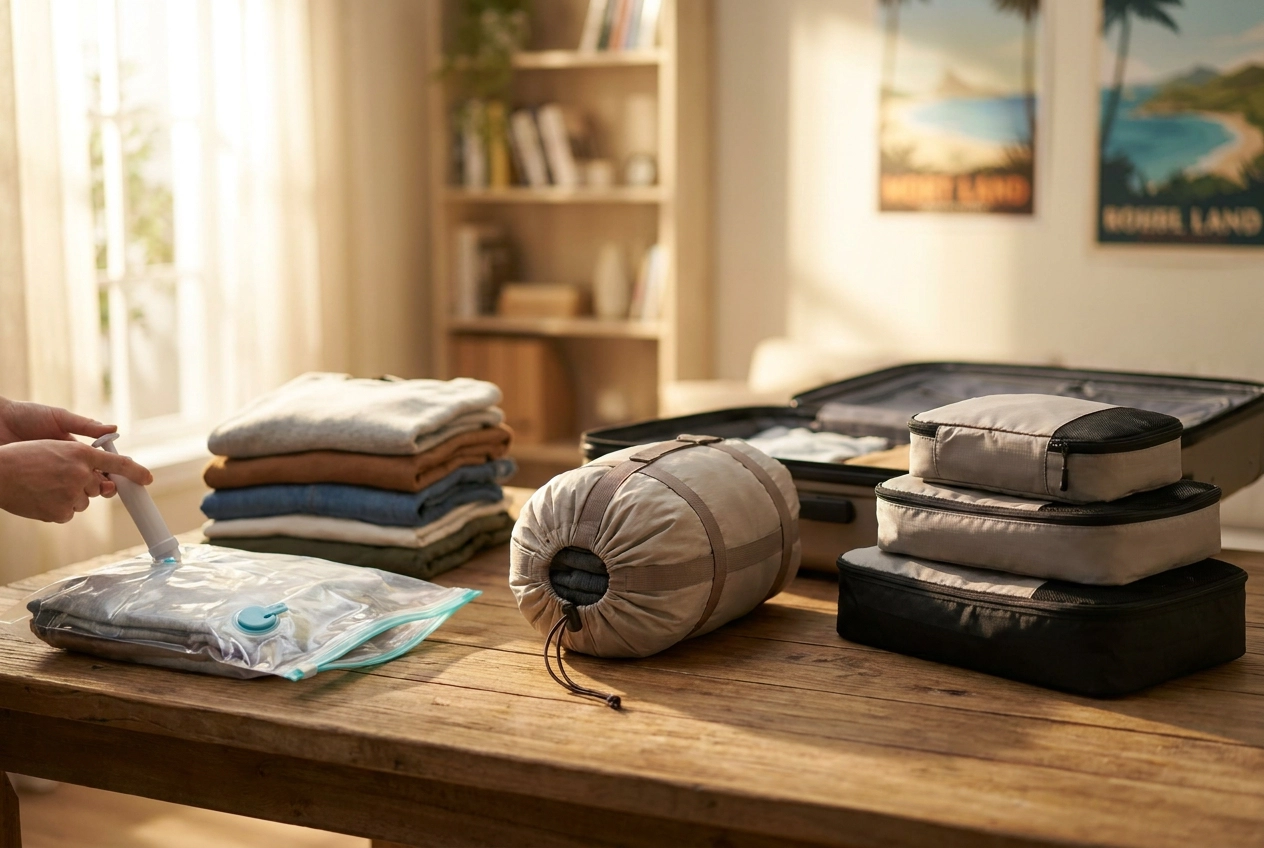
Group clothing by category or outfit using pouches you already own, standard packing cubes, or a hanging organizer. Avoid filling the bag with overlapping systems. Compare packing cubes and compression cubes if clothing bulk is a problem. Compression changes volume; it does not remove weight.
Done when: You can find each clothing category quickly without opening several organizers.
6. Prepare Toiletries and Laundry Storage
Pack suitable amounts of products you use, check refillable containers for compatibility, and test closures before leaving. Follow the liquid rules for your airports. Read our travel bottle guide for container selection and leak prevention.
Reserve separate storage for dirty clothing and damp items. A shoe compartment or ordinary pouch does not automatically provide watertight containment. Dry wet items as soon as practical rather than leaving them sealed for the rest of the trip.
Done when: Toiletry closures are tested and clean, dirty, and potentially damp items have appropriate separate storage.
7. Check Your Electronics Kit
Pack the devices you need, matching cables, and suitable chargers. For international travel, check destination outlets and each device’s electrical requirements. A plug adapter does not automatically convert voltage.
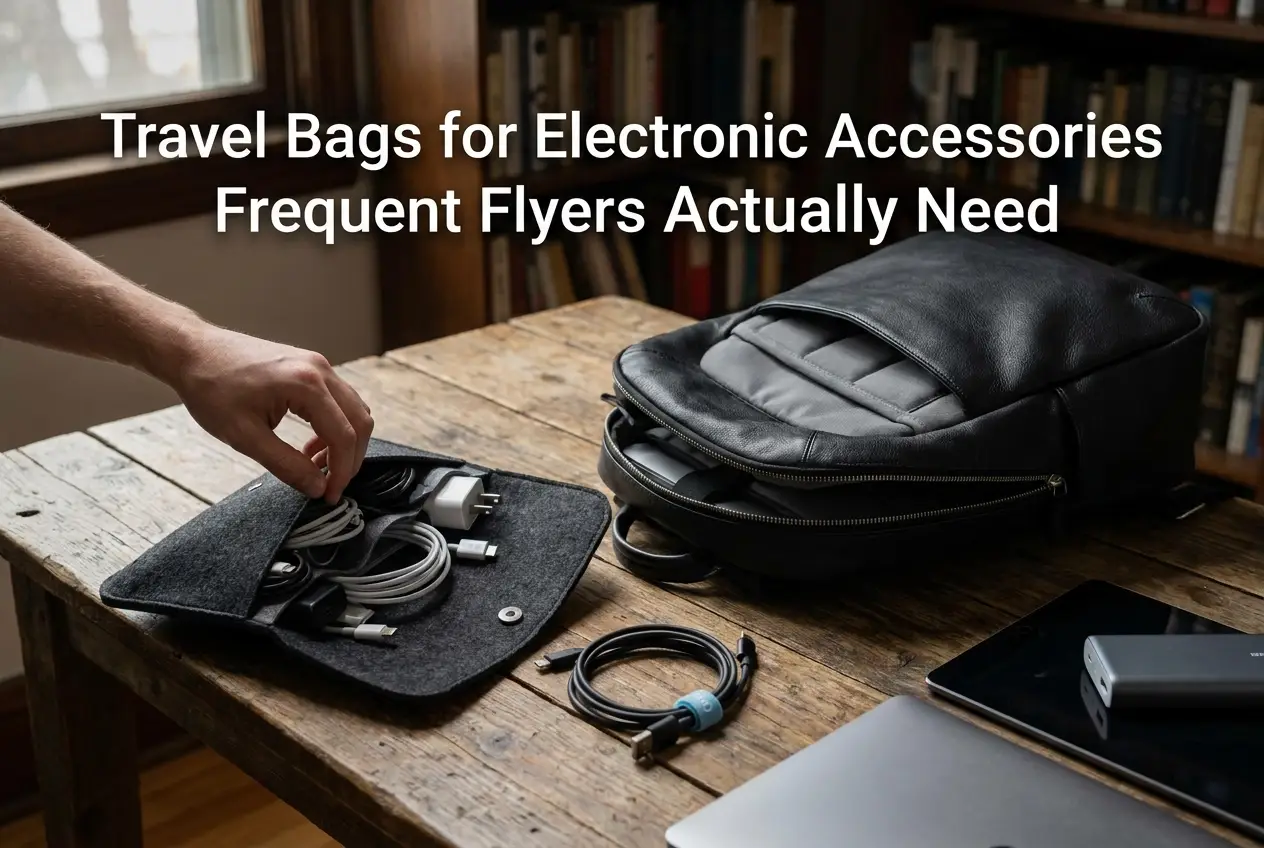
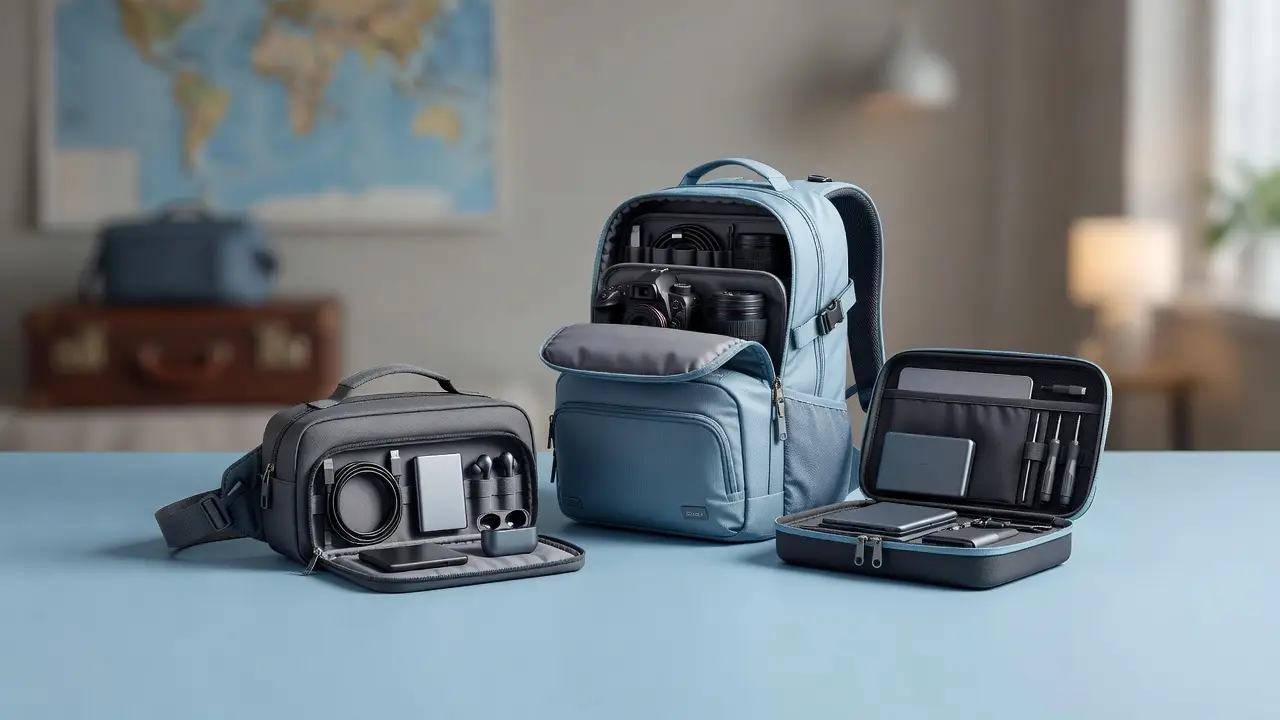
Check current carrier restrictions before packing batteries. The FAA lithium-battery guidance covers spare lithium batteries and power banks; remove them from a carry-on bag if it is gate-checked. Review our electronics organizer guide to arrange the kit. For a comparison of pouches, compartmented cases and tech backpacks, see our travel electronics bag buying guide.
Done when: Each essential device has a compatible charging solution and batteries are packed according to current airline rules.
8. Measure, Weigh, and Test the Packed Bag
Close the bag fully, measure its exterior, and weigh it. Compare both readings with the applicable allowance. If the bag is too heavy, remove duplicates or low-priority items while preserving essentials. Moving weight into another bag helps only if that bag also meets its allowance.
Done when: The packed bag meets every applicable size and weight limit; otherwise, repack and recheck or arrange another baggage option.
9. Run the Access and Return-Trip Check
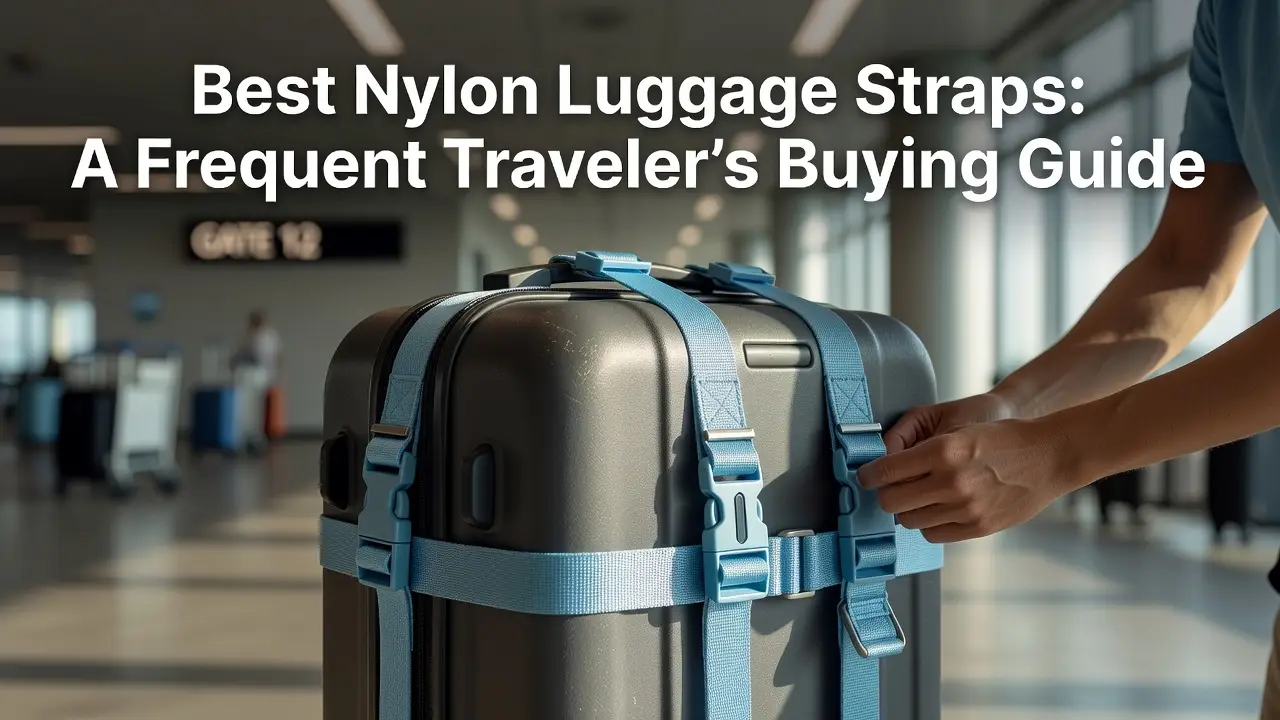
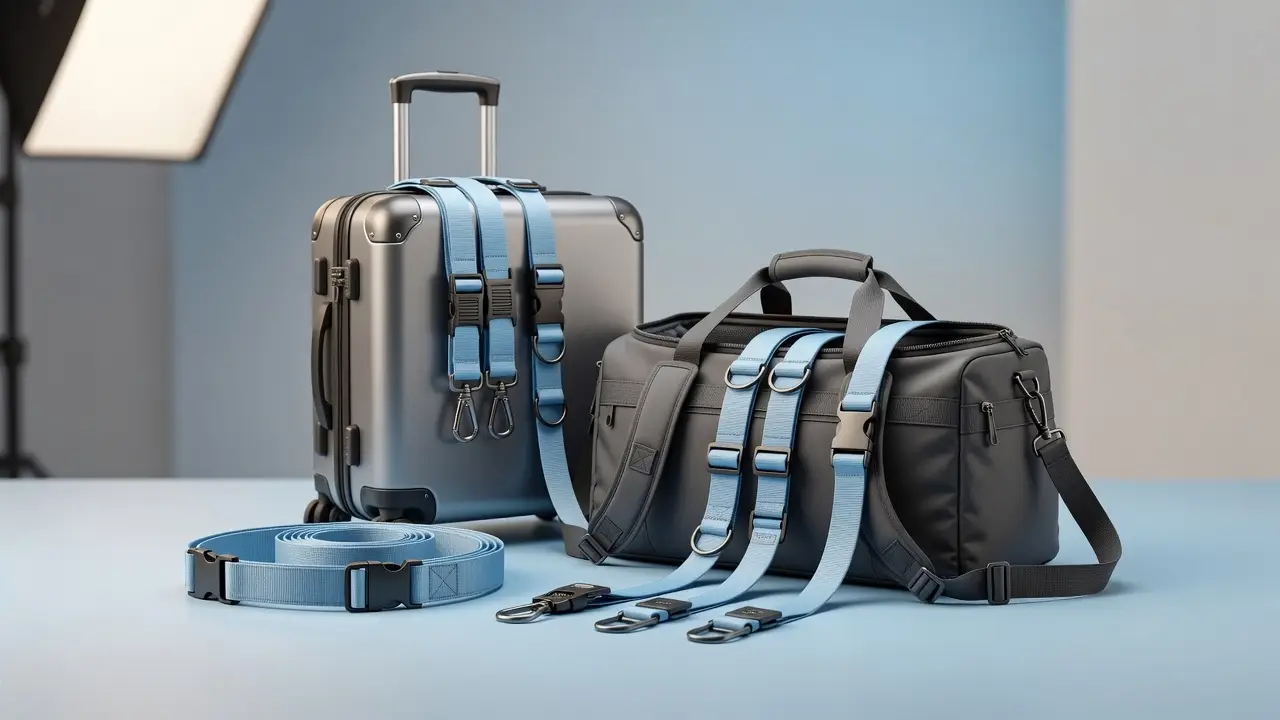
Retrieve your identification, medication, and arrival essentials without emptying the bag. Add identification to luggage, inspect closures, and leave room for purchases if needed. A strap may help hold a suitcase closed and identify it, but it is not theft protection.
Save the checklist and use it before leaving your accommodation. Check drawers, outlets, bathrooms, and any storage you used.
Done when: You can reach arrival essentials and have a saved checklist to repeat before traveling home.
How to Create a Packing Checklist for Your Specific Trip
Keep the sequence; update the weather, activities, accommodation, documents, and baggage allowance. Add destination-specific items after those checks. Group clothing and arrival essentials by use, then repeat the access, size, and weight checks before returning home.
Destination-specific international packing list.
| Planning question | Your answer | Next action |
|---|---|---|
| Which flights and fare allowances apply? | Operating airlines and included bags: ______ | Save the policy links and measure the finished bags. |
| Which activities and weather require specific gear? | Required clothing and equipment: ______ | Keep necessary items; remove unrelated duplicates. |
| Is laundry available when you need it? | Location, timing, and drying plan: ______ | Pack enough suitable clothing to reach that opportunity. |
| What must stay accessible during transit? | Documents, medication, and other essentials: ______ | Assign secure, reachable storage. |
| What changes on the return journey? | Purchases, laundry, or different flight allowances: ______ | Repack, remeasure, and weigh before departure. |
Then use the packing-system test below to check the finished setup. For the layout inside the bag, use our packing organization guide.
Example: Pack for a Four-Day Trip With a Carry-On Limit
Scenario: You have a four-day trip with two casual days, one dinner out, and possible rain. Your booking has a carry-on size and weight allowance, but you have not yet checked whether your packed bag fits.
- Confirm the rules: Open your booking and the operating airline’s baggage policy. Write down the allowed bag dimensions and weight, if a weight limit applies.
- Build a trip-specific list: Set aside required documents and medication; choose clothing for the three activities and weather, including one appropriate rain layer.
- Pack once: Put essentials in an accessible location, separate toiletries and charging gear, and use organizers only where they help.
- Test the result: Close, measure, and weigh the packed bag. If it exceeds a limit, remove optional duplicates and test again; if it still does not fit, review the baggage options for your fare.
Result: Your plan is ready only when the packed bag meets the applicable allowance, required items are accessible, and you have saved the checklist to repeat before returning home. This is an illustrative example, not a universal packing quantity or airline allowance.
Try it on your own trip: Write down your destination, trip length, planned activities, laundry access, and baggage limits. Pack once, then record the packed bag’s measurements and weight. If it fails either limit, remove one optional category and test again. Keep your final list for the return flight. Your goal: one bag that meets your booking’s rules and contains everything essential for your itinerary.
Travel Packing System FAQs: Organizers, Essentials, and Gate Checks
What is the easiest way to pack for a trip?
Start with the activities, weather, and baggage limits for your trip. Pack essential documents and medication first, choose versatile clothing, and keep toiletries and electronics in separate pouches. Finally, measure and weigh your packed bag and make sure important items are easy to reach.
Do I need new organizers to use this system?
No. Start with existing bags and pouches. Buy an organizer when it solves a specific access, separation, or fit problem.
Should I remove every “just in case” item?
No. Remove unnecessary duplicates, but keep appropriate emergency, weather, health, and accessibility supplies for your route.
What if my carry-on is checked at the gate?
Keep documents, medication, valuables, and journey essentials accessible for removal. Remove spare lithium batteries and power banks, and follow airline instructions for other electronics.
For arranging items inside the bag, use our smart travel packing organization tips. For reducing the load, read how to pack light for long trips.
5-Minute Packing System Test
Use this quick decision table before departure:
| If you find… | Do this | You’re ready when… |
|---|---|---|
| Bag exceeds a size or weight limit | Remove optional items, close expansion zippers, then measure and weigh again; consider a different baggage option if needed | The packed bag meets every operating airline’s allowance |
| Clothes crowd out essentials | Remove duplicate outfits or reorganize clothing without exceeding the weight limit | Essentials fit and the bag closes comfortably |
| Documents or medication are hard to reach | Move them into a secure, accessible location | You can retrieve them without unpacking |
| Too many pouches or organizers | Keep only those that make items easier to find or separate | Every organizer has a clear purpose |
| The return trip has different limits or more items | Check the return booking, repack, and remeasure | Your return bag meets its allowance |
Once everything passes, save your checklist or a photo of your packing layout for the return trip.
- Access test: retrieve your ID, medication, charging cable, and one arrival essential without unpacking the whole bag.
- Fit test: close every zipper and remeasure the packed bag, including wheels, handles, and filled exterior pockets.
- Weight test: weigh the finished bag and compare it with the allowance attached to your booking.
- Duplicate test: remove items that perform the same job unless you genuinely need a backup.
- Return-trip test: save this checklist so you can repeat the same process before leaving your destination.
Choose an Organizer Only When It Solves a Packing Problem
Start with the organizers you own. Choose an additional one only if it solves a problem in the comparison below.
| Packing problem | Best approach | Related option |
|---|---|---|
| Clothing takes too much space | Group similar items and compress only when volume—not weight—is the issue. | Compression Packing Cubes |
| Small items get scattered | Assign one pouch or organizer to each category instead of mixing everything together. | Travel Packing Organizer Set |
| You want faster unpacking | Use a system that can move from suitcase to hotel storage with minimal repacking. | Suitcase Organizer Hanging Shelf |